Catalina 30
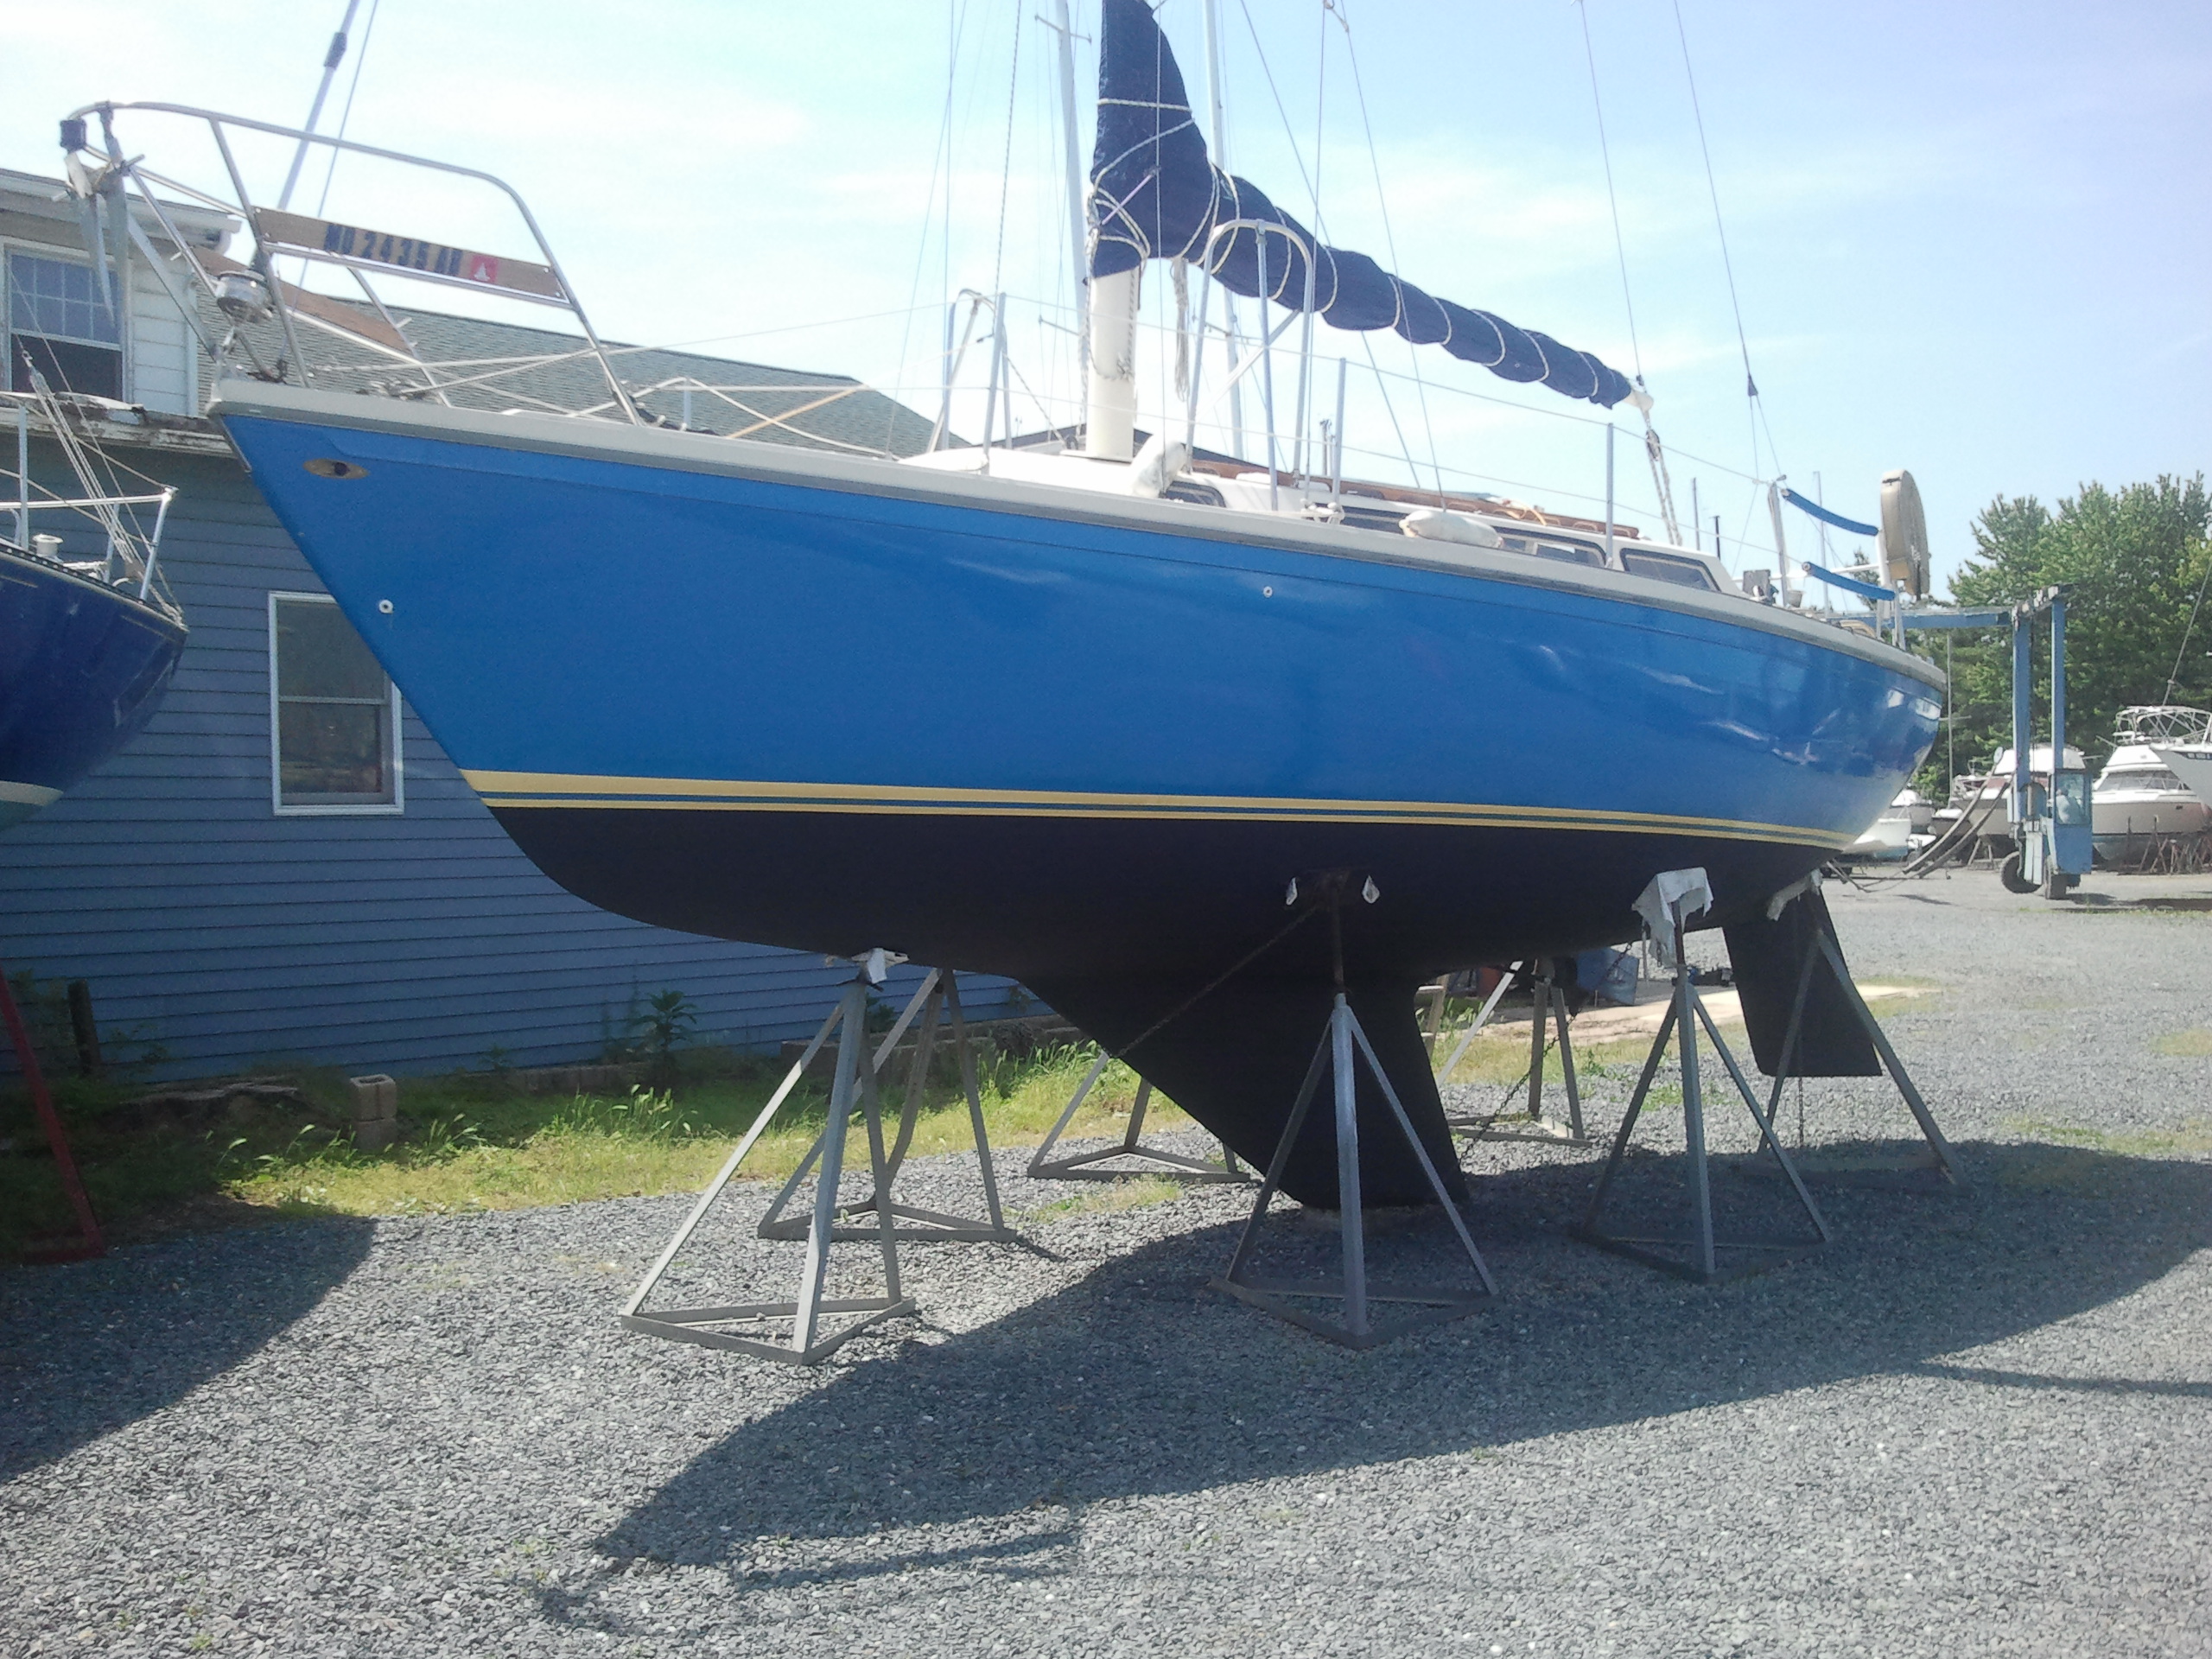
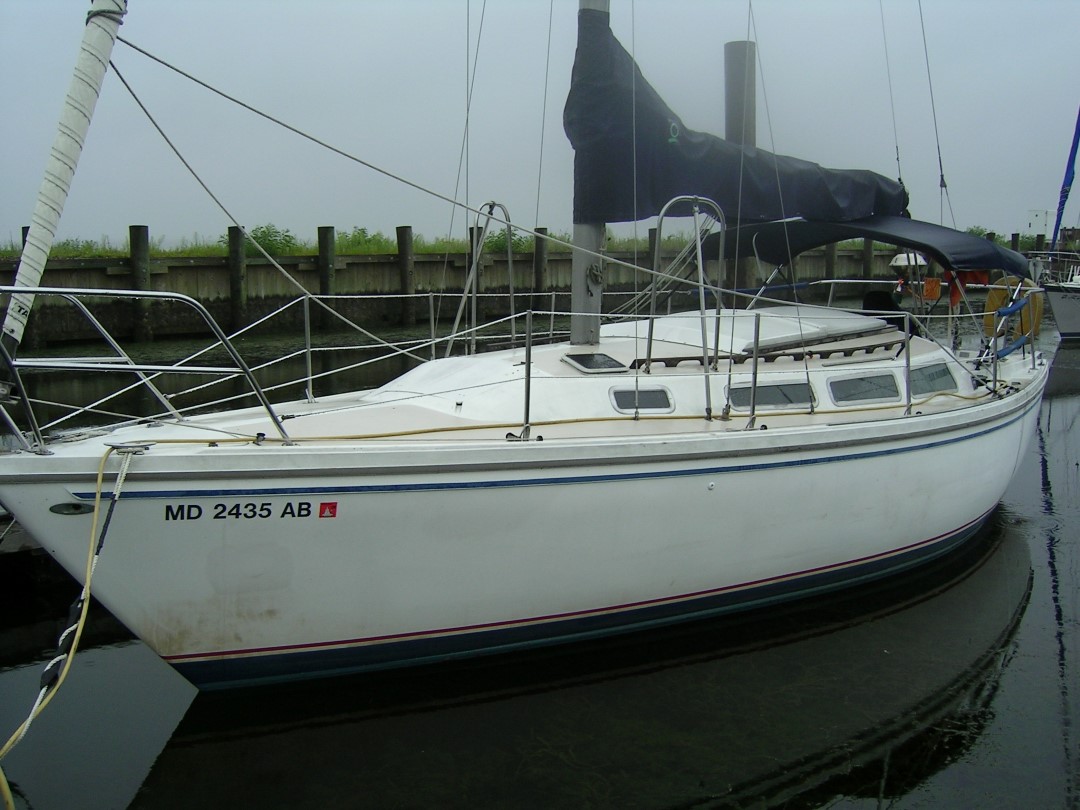
This project details the search for, restoration and repair of our 1977 Catalina 30. We had looked around quite a bit before finding her. Even a trip to North Carolina was part of our search. (Who doesn’t love coming up with an excuse for a road trip?)
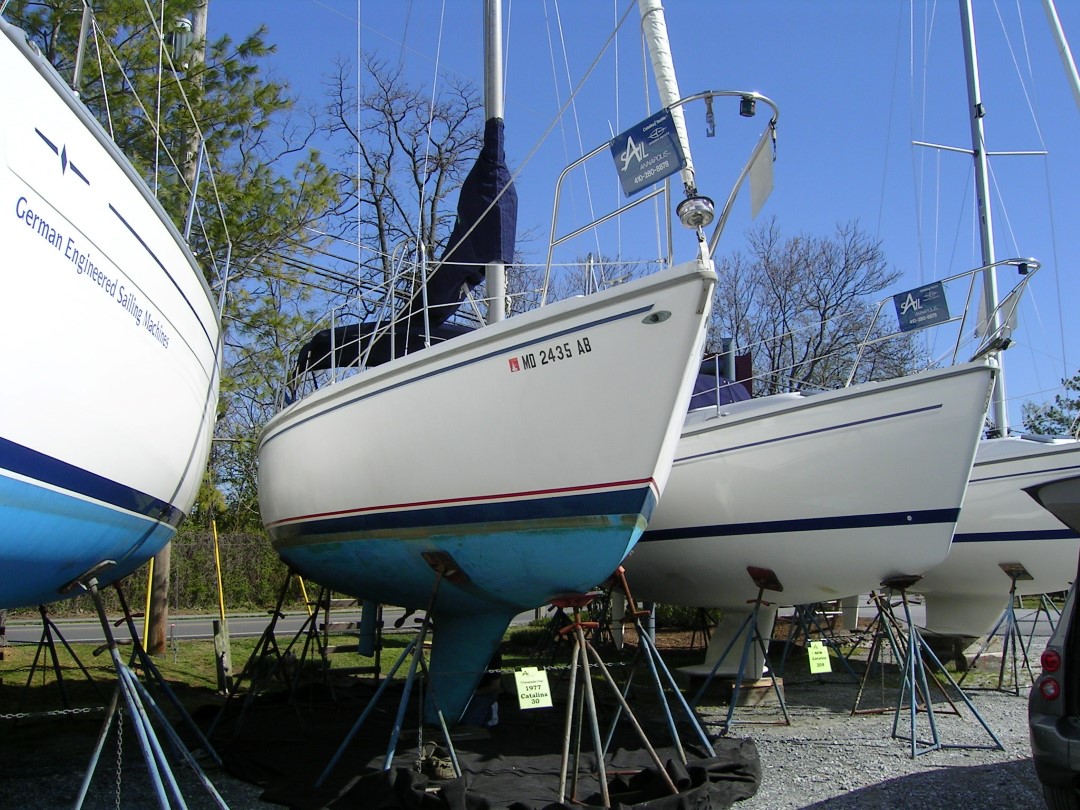
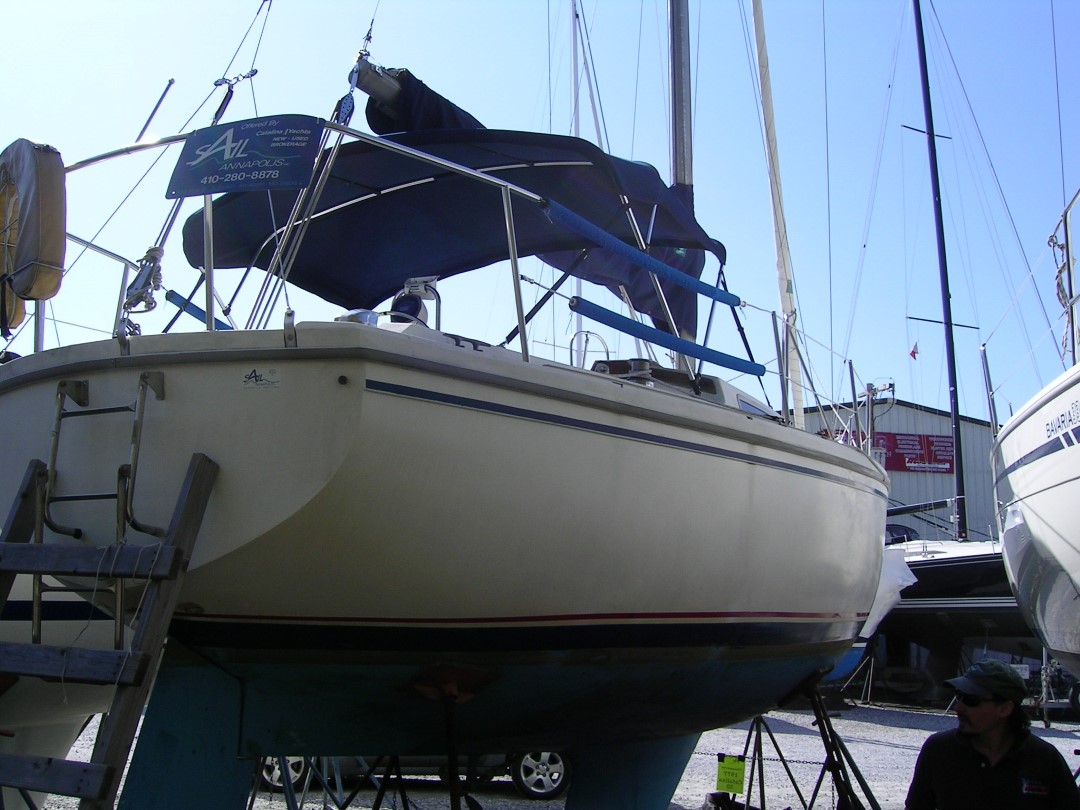
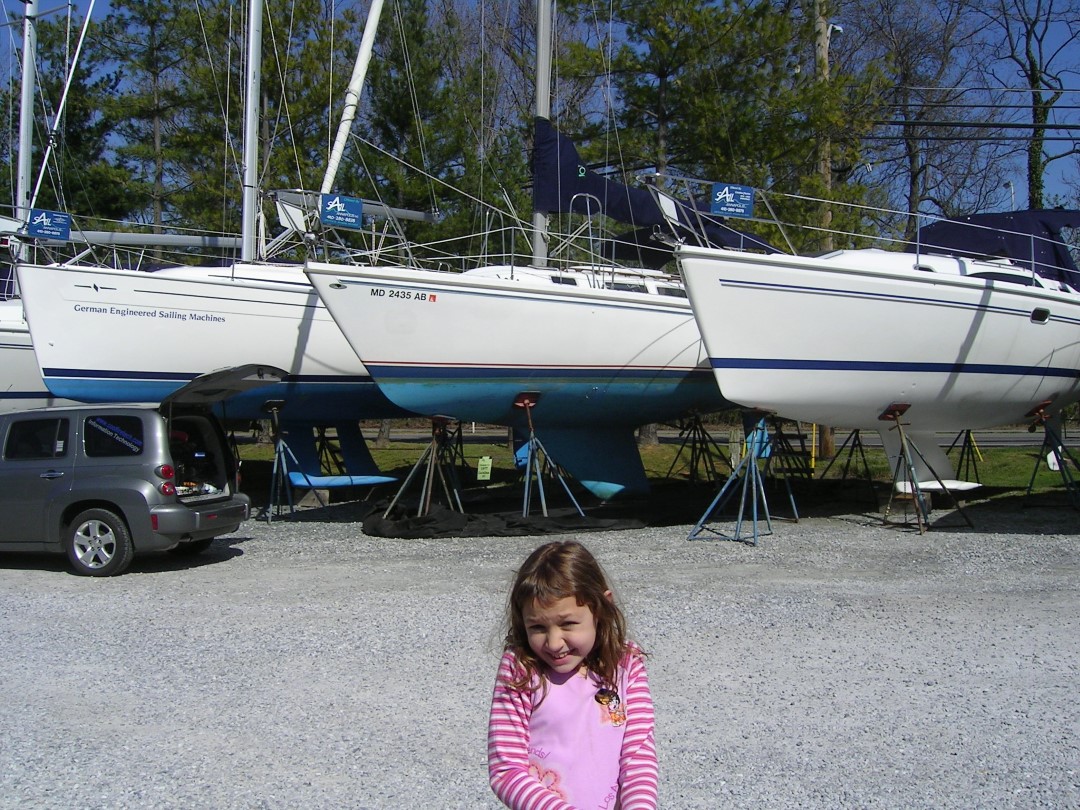
She was purchased April 2007 as a test boat for our marine computer systems. We found her at Bert Jabin’s yard offered by Sail Annapolis. She spent nearly three weeks there waiting for us to be able to schedule a drop date and the time to sail her home to Havre de Grace, MD.
While she sat in the yard we patched up her “Catalina Smile”, corroded keel nuts and slapped a coat of bottom paint on her. It was during this time we noticed considerable crazing to the hull below the waterline, but no obvious blistering. More extensive repairs would wait until next season in dry dock.
Since my wife, Liz, and my sailing experience consisted of a few times sailing our 16’ Hobie and a couple trips on my dad’s boat, we enlisted dad’s help as crew for the trip home. Dad has considerably more sailing experience and a captain’s license to boot.
The first day of our trip was perfect, northwesterly 15 knot winds, plenty of sunshine and temperatures in the 70’s. We found a few minor issues, primary that the chain plates were loose. These we tightened. So for the first day things were relatively uneventful. Our entire day was spent sailing one port tack. We set the hook in Fairlee Creek around 10pm (that’s a fun entrance after dark). We logged our stop and settled in for the night.
The morning greeted us with somewhat rougher weather. Winds around 25 knots from the west and about 15 degrees cooler. We set a reef in the sails as we left the protection of Fairlee Creek and headed into light chop of about 1-1.5’ seas, still great sailing. Again we spent most of the morning on a port tack. As we approached Turkey point we finally needed to tack to catch the channel around Aberdeen to get to Havre de Grace. Now the fun started.
After a short time on the starboard tack Dad and I were below and noticed some considerable movement in the starboard cabinet. What we came realize was the bulkhead was not secured to the lower hull so the chain plates were expanding the cabin roof away from the hull, not good. At this point we eased off the wind to assess the situation. Since repairs looked a little more involved than we wanted to do under way we decided to motor the rest of the way.
About 30 minutes of motoring as we were approaching Fishing Battery Island, I glanced down at the fuel gauge to see it flat on empty. Oh fun! We left with nearly half a tank which should have been more than enough to motor most the trip but here we were on empty after about an hour motoring. No it seemed time to make those bulk head repairs. I grabbed the cordless and set out to drill new holes through the bulkhead and settee base. With the bolts relocated into fresh holes she looked like she hold (in fact she did for the rest of the season!). So now set of on the task of sailing up the very narrow channel leading to our port. Thank God we brought the captain! As it turned out there were two factors leading to the would be empty tank. A new tank half the original size was installed and the fuel gauge was defective, we actually had some fuel. None the less we made it to Penns Beach marina a little after noon having learnt two very valuable lessons every sailor probably knows: always expect the unexpected and carry an extra fuel can!
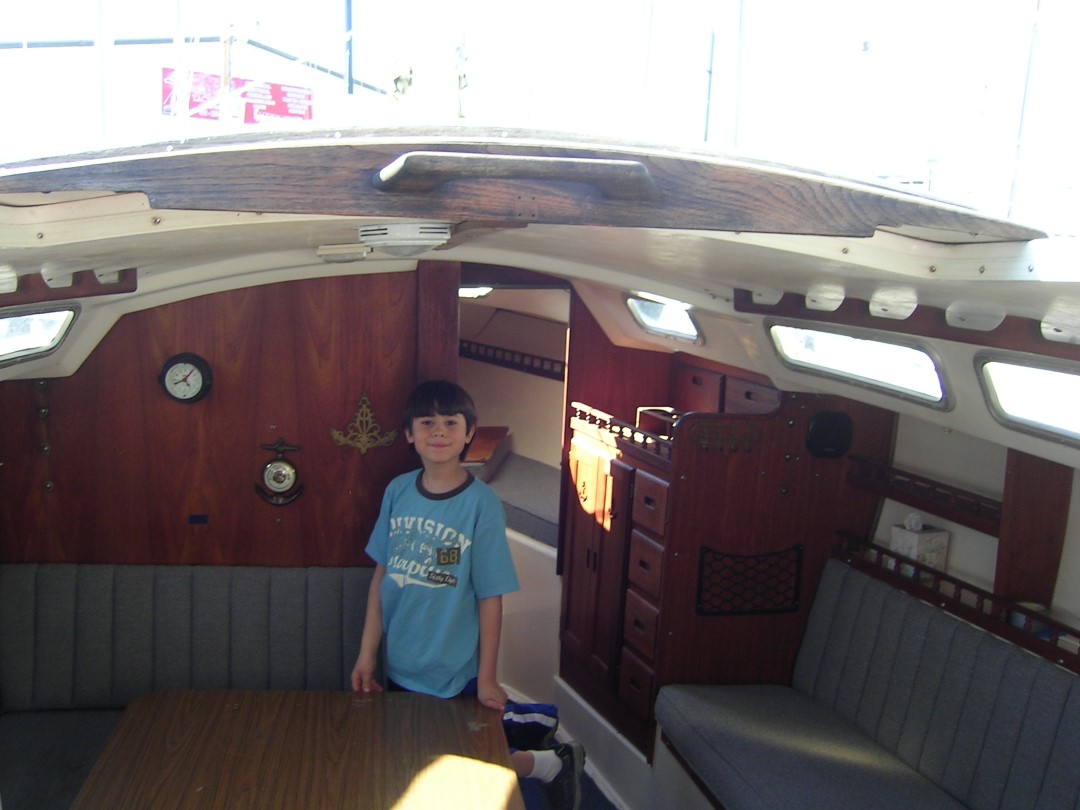
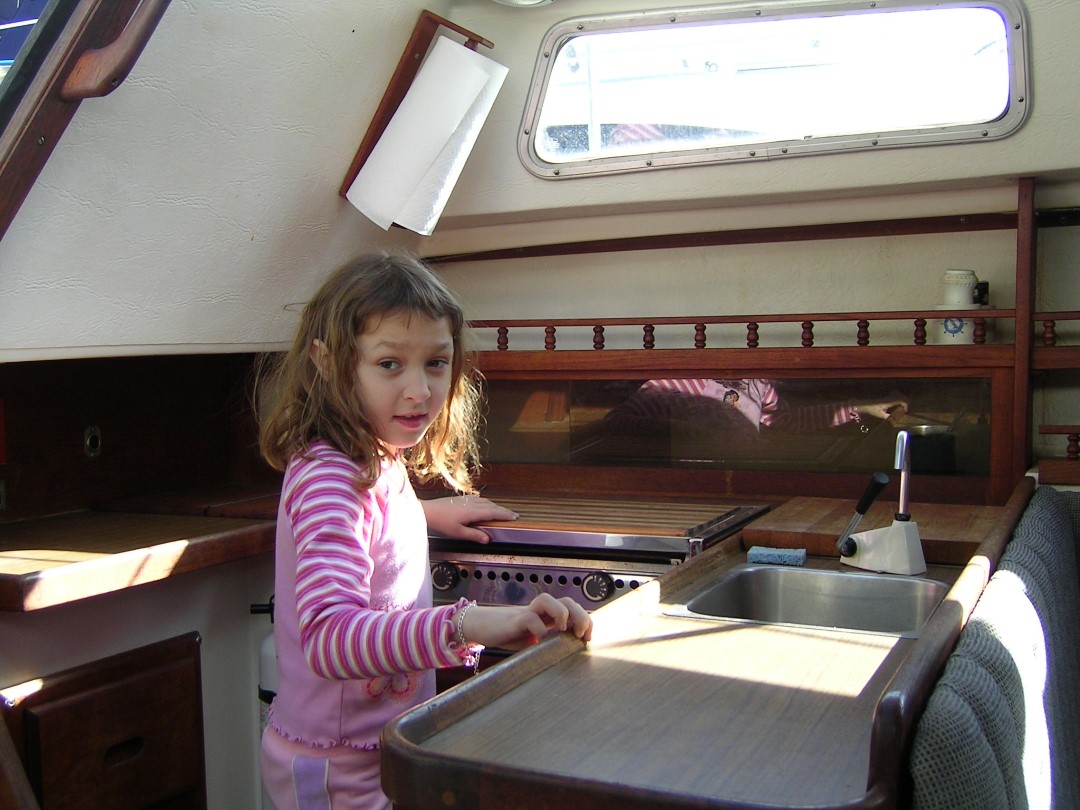
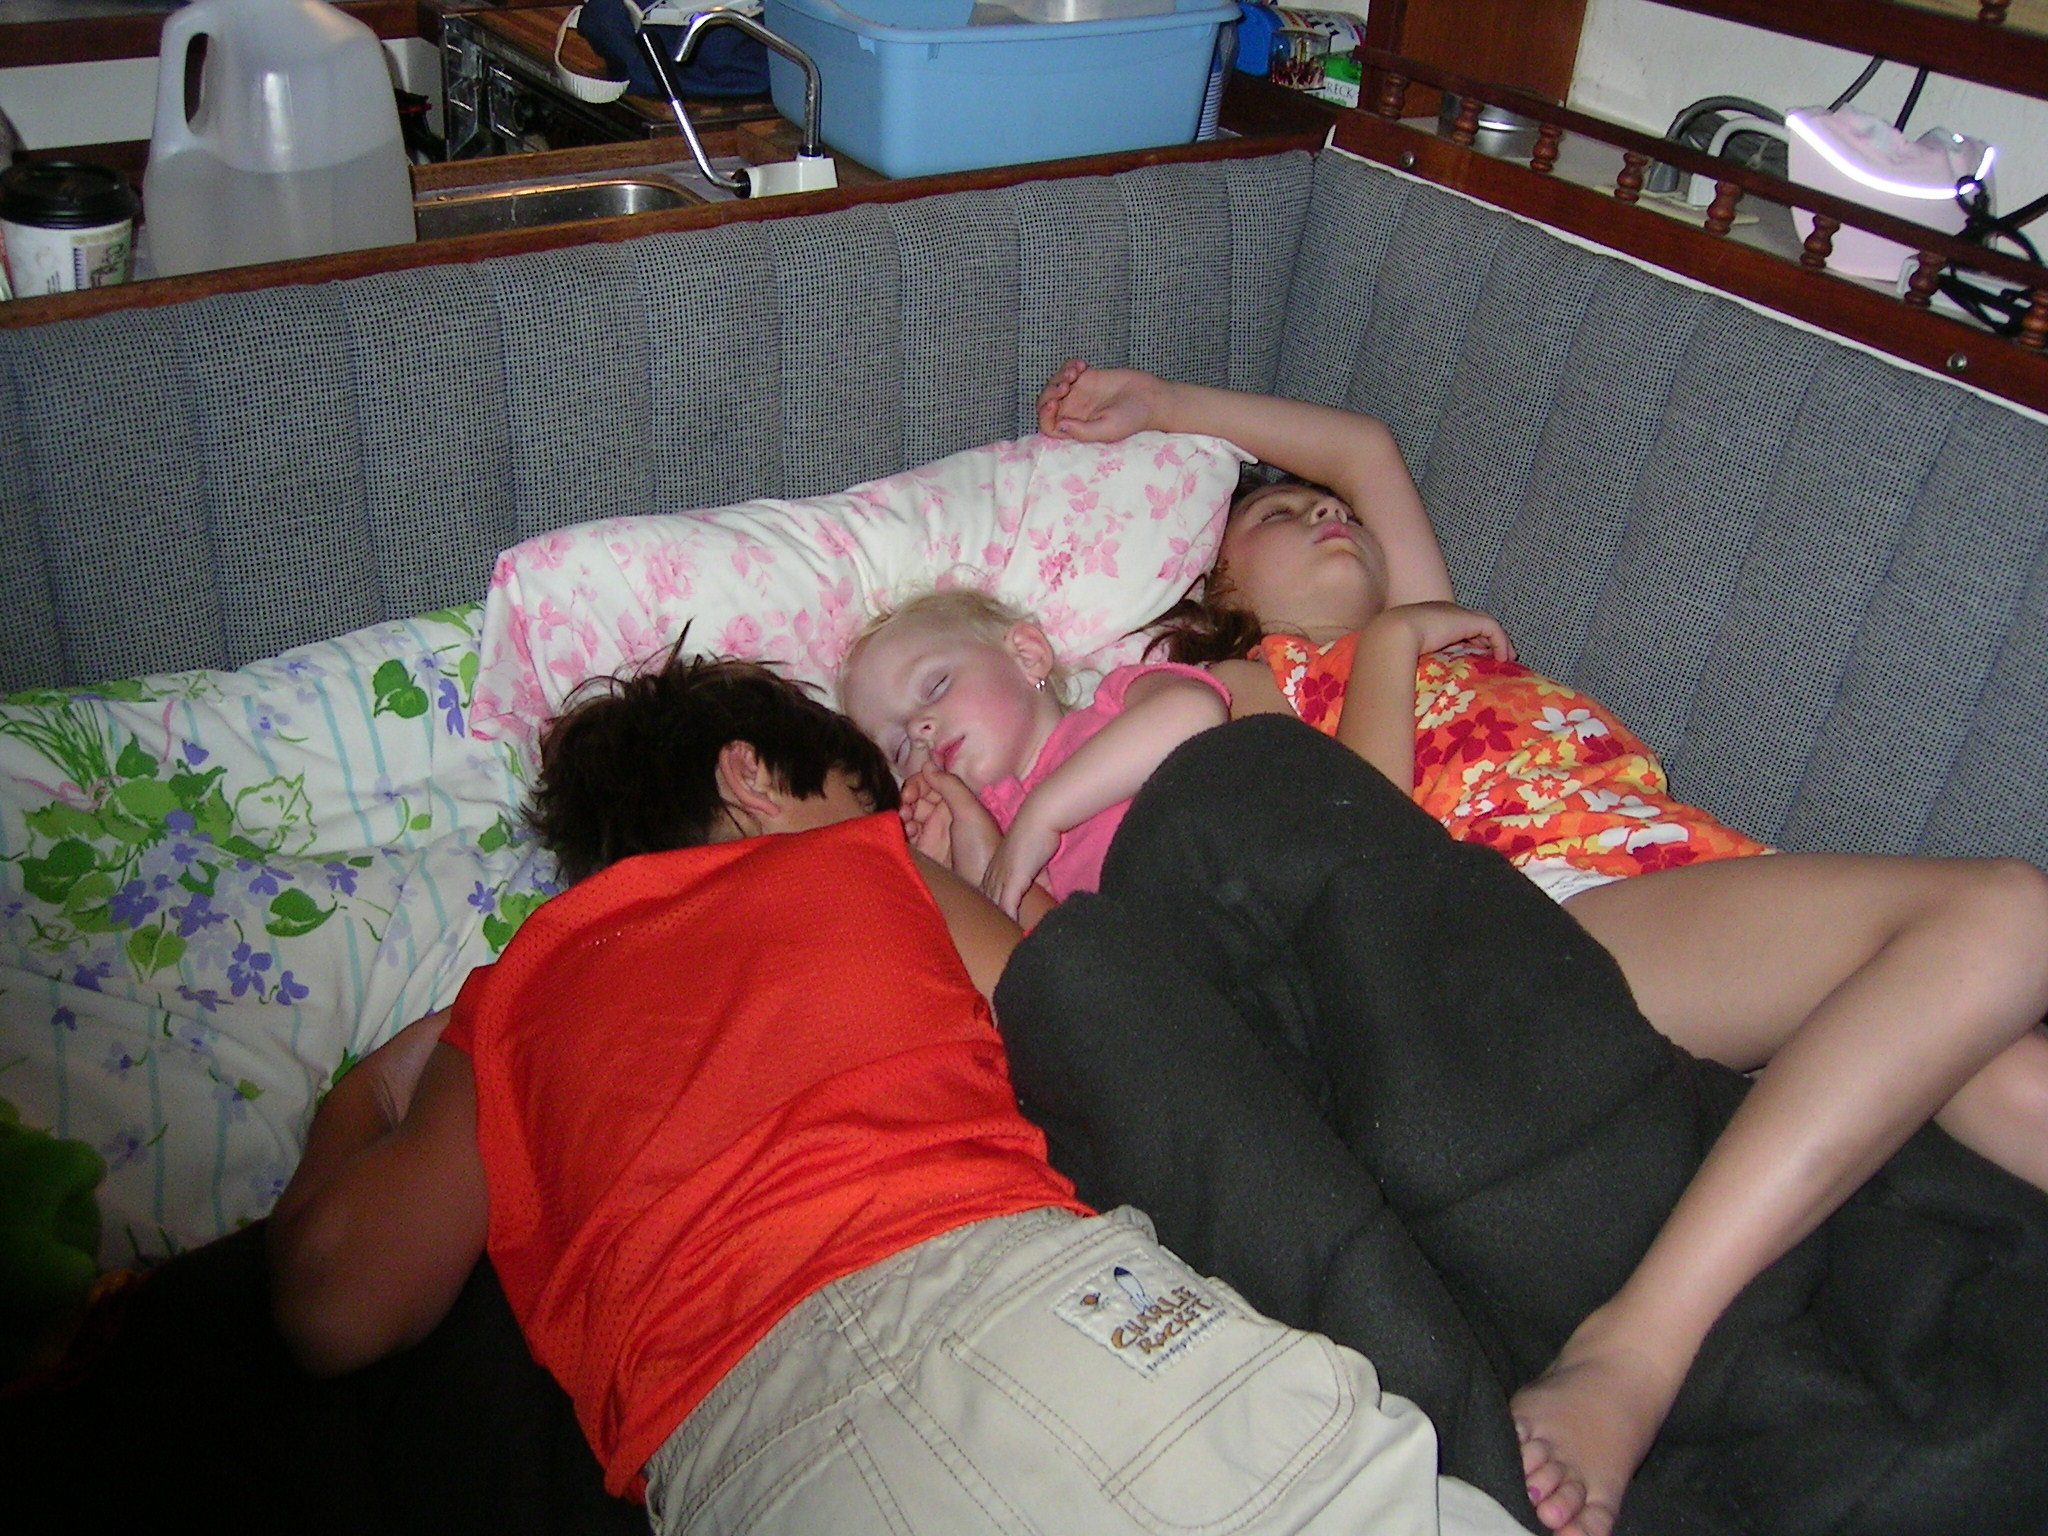
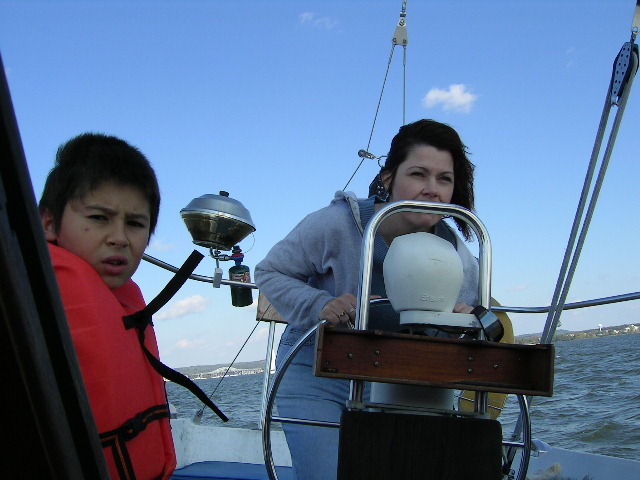
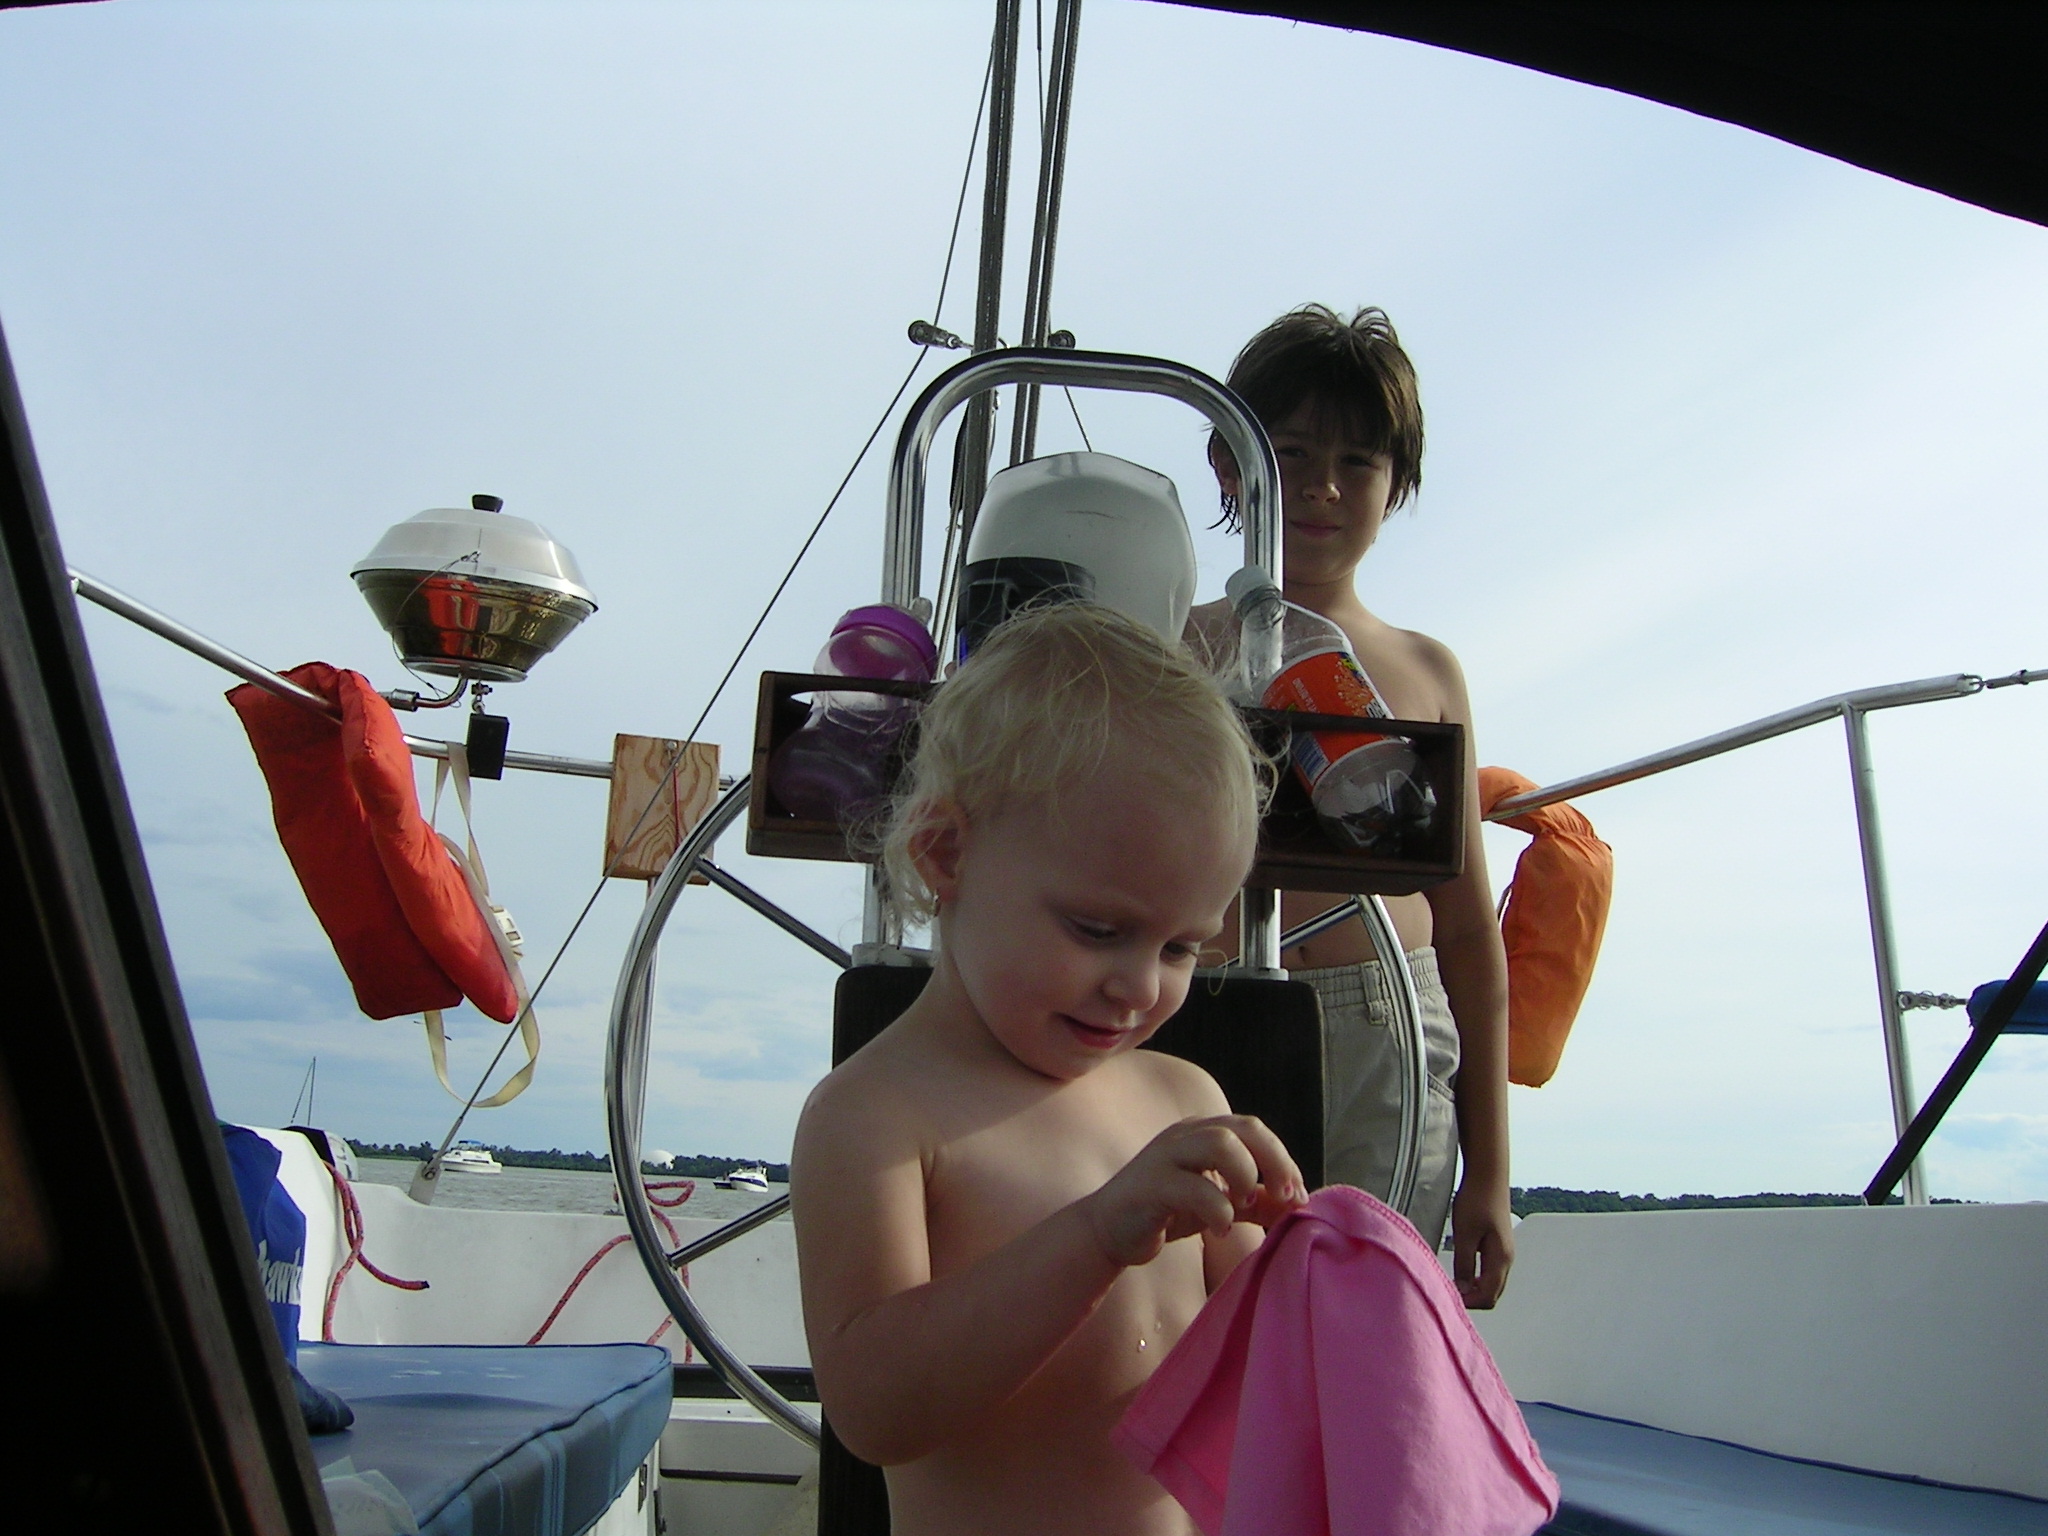
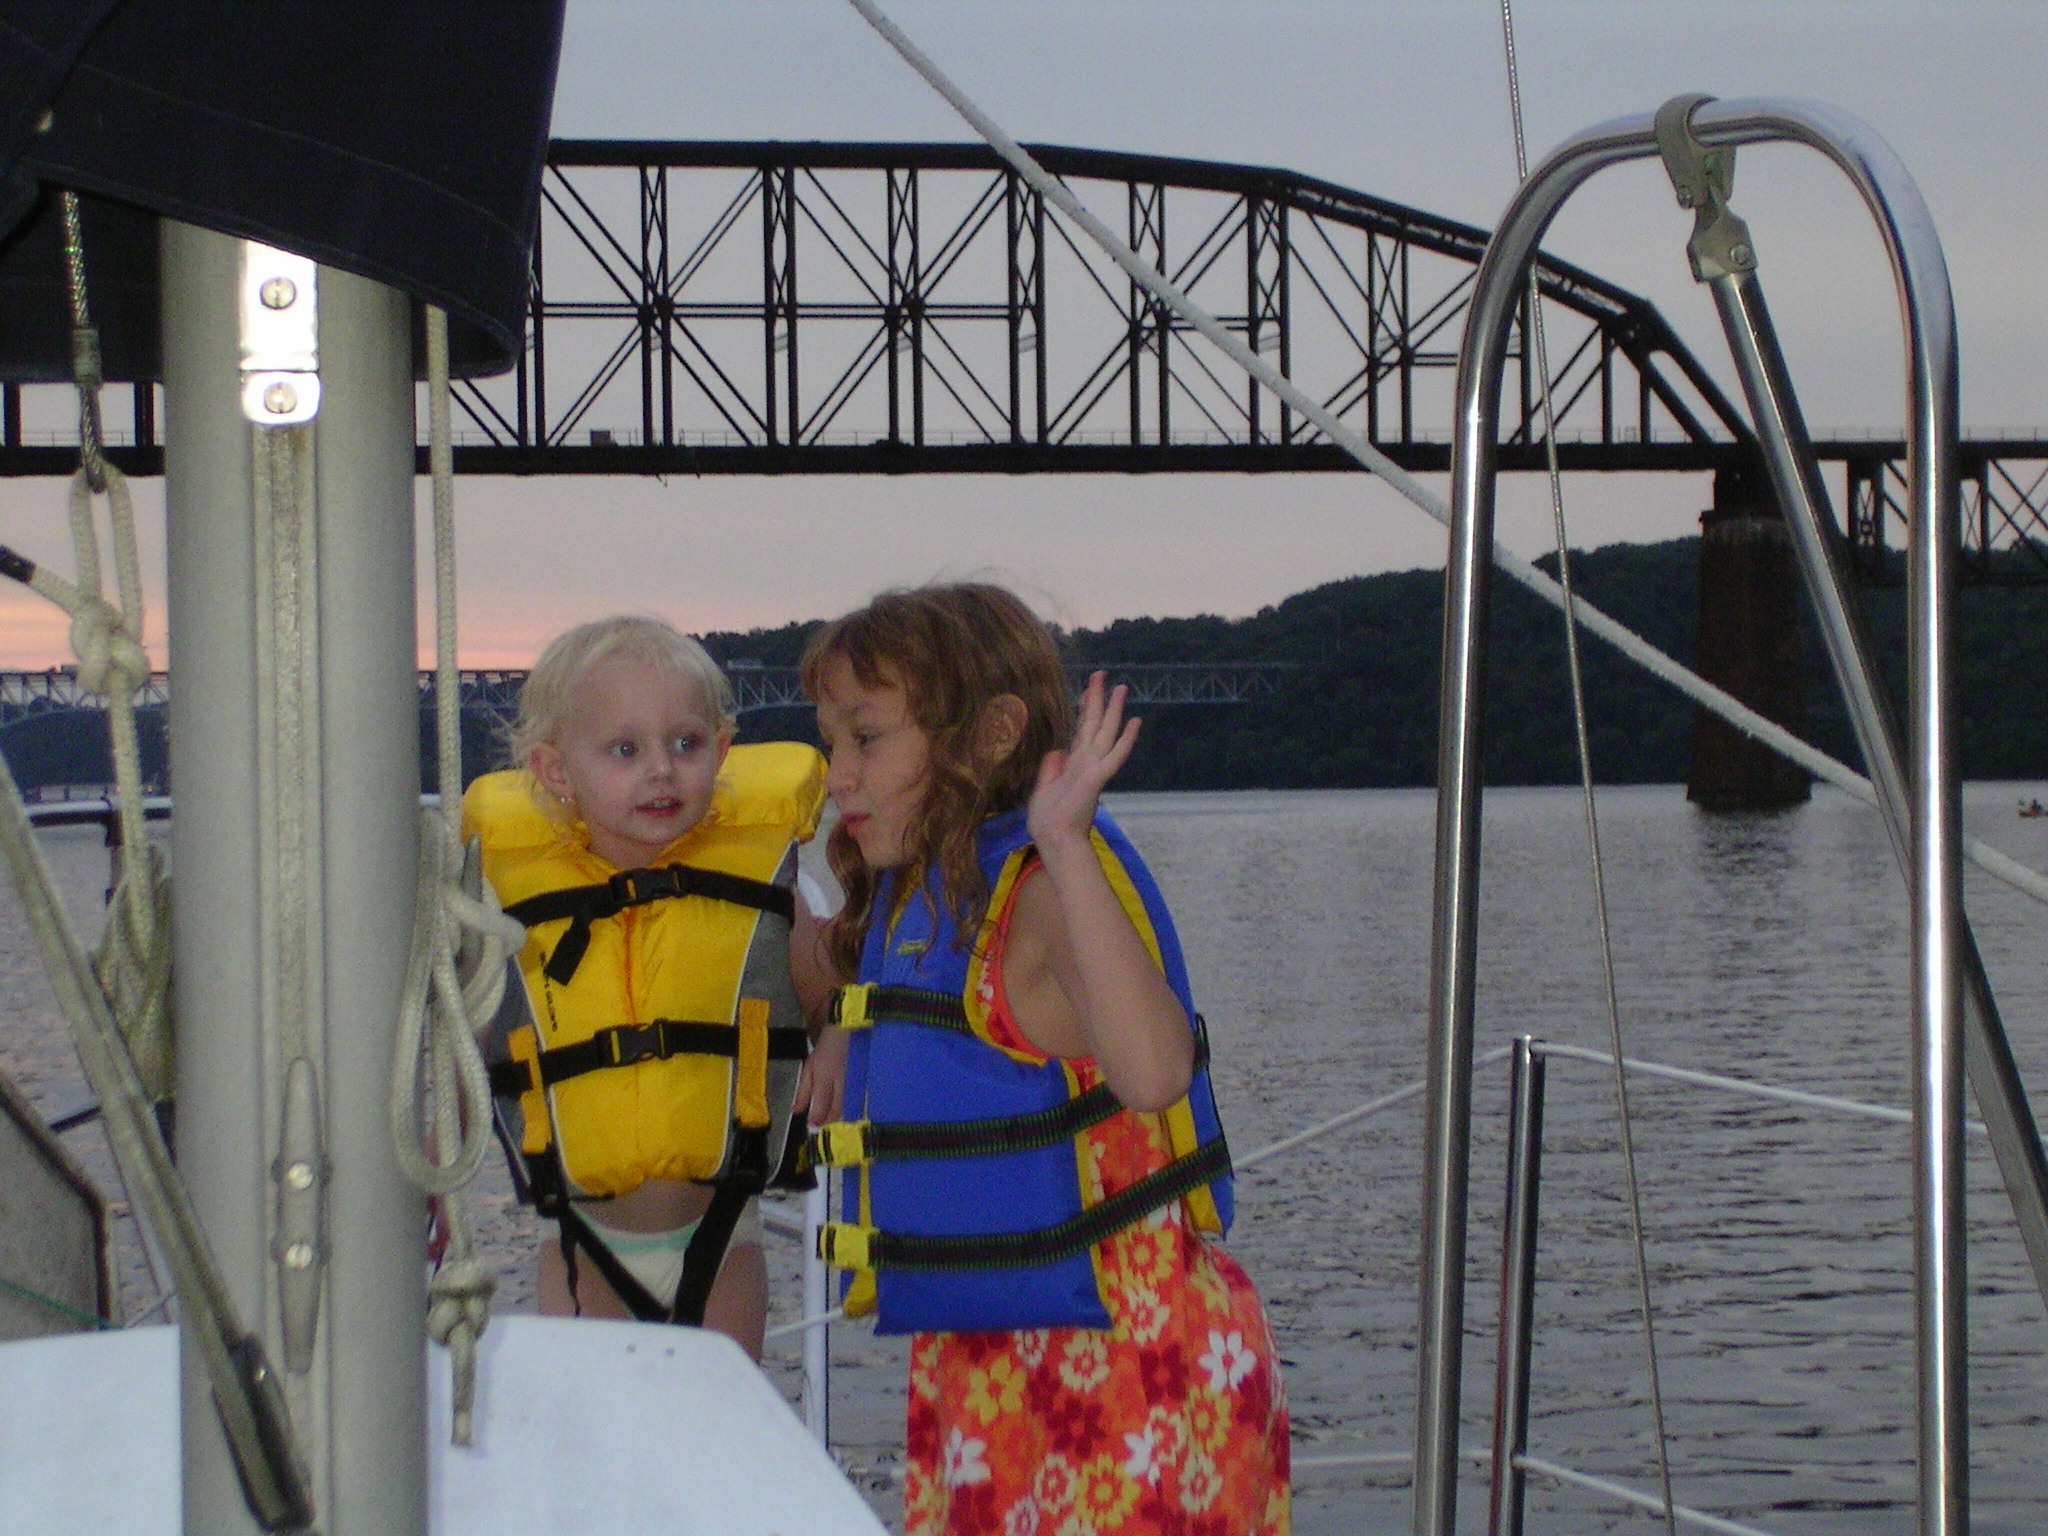
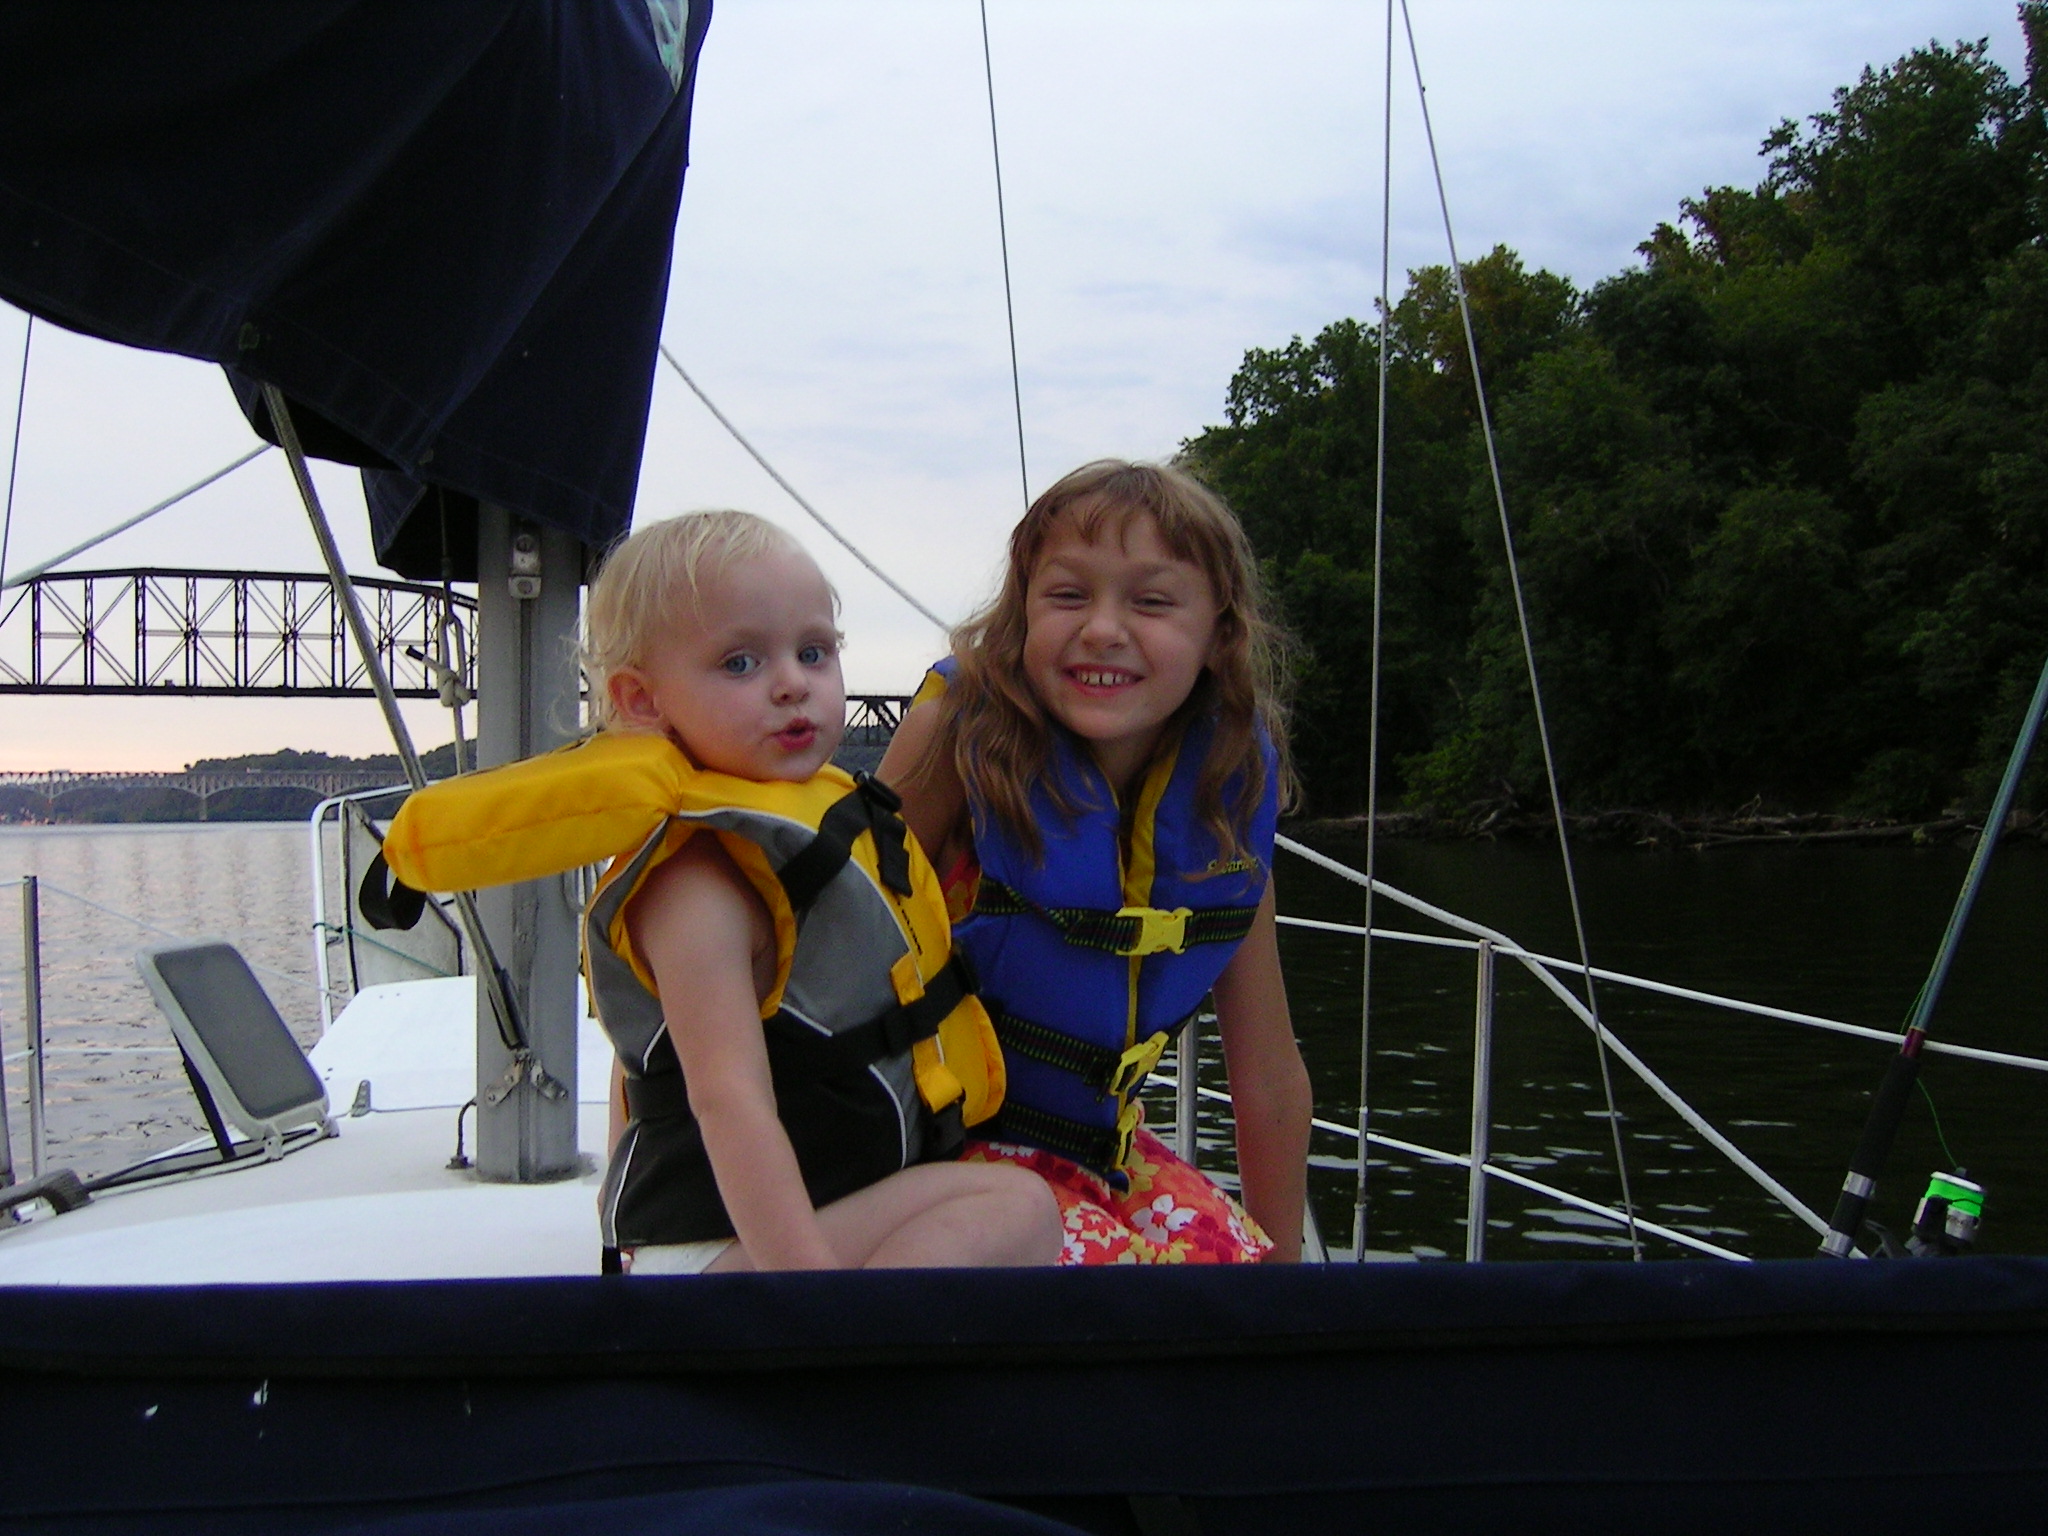
Our first summer of was great! Our kids and granddaughter had a wonderful time. Days on the boat really left the kids beat and they were out early. That left evenings to adult time.
The season wasn't without some scary moments, like the morning we woke up nowhere near where we had anchored! In fact we had anchored next to Garrett Island well north of the Hatem Bridge and ended up on the south side of the bridge on the other side of the channel. How we made it under the bridge without hitting it was simply amazing. Lesson learned, make sure your anchor is set properly.
There was also a small cabin fire, giving us a bit of a scare. I won't go into the details of that, it's just too embarrassing. Let’s just say I’ll always follow all the safety instructions when filling the alcohol stove from now on.
During the season we found plenty of other issues with our “new” boat, most of them taken by themselves I would consider minor, but as they compiled to a list, I started to wander what wasn’t broken. Leaking ports, head, holding tank, sinks and faucets. Electrical issues, transmission and fuel problems. You get the idea.
When the season came to an end we began to agonize over where to store her for winter that would give us the best chance to perform repairs. We decided it would in our yard next to the garage. We made arrangements with Chris White of Otter Creek Marina to haul it to our house.
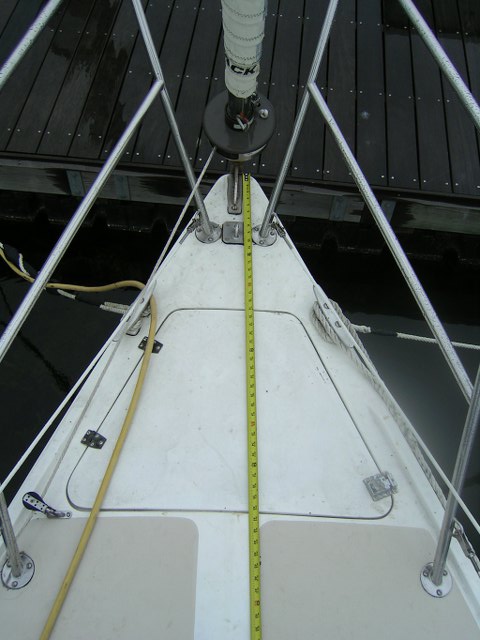
The first step in this process was to find a marina for the haul out. Since we kept the boat in Havre de Grace which is in Harford County, but lived in Cecil County, it was suggested that we have it hauled in Cecil County to avoid transporting across the bridge over the Susquehanna River. Perryville was the logical choice, but none of the marinas could handle un-stepping our mast. After pondering the dilemma, and a few failed calls to other marinas, I called the captain (dad) once again. He suggested that we do it ourselves, boy he’s the adventuresome type.
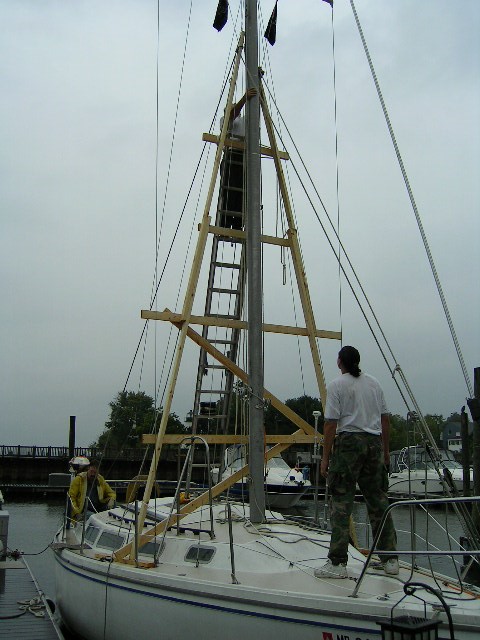
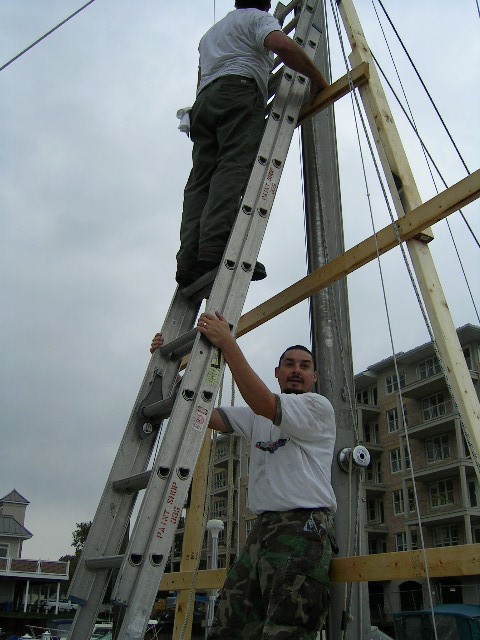
So much the chagrin of Liz, dad concocted a feat of engineering plan to drop the estimated 40’ 250lb mast. So late one October afternoon, we started building a rig that looked like something the ancient Romans would have used.
Of course, as we worked the weather took a turn for the worst.
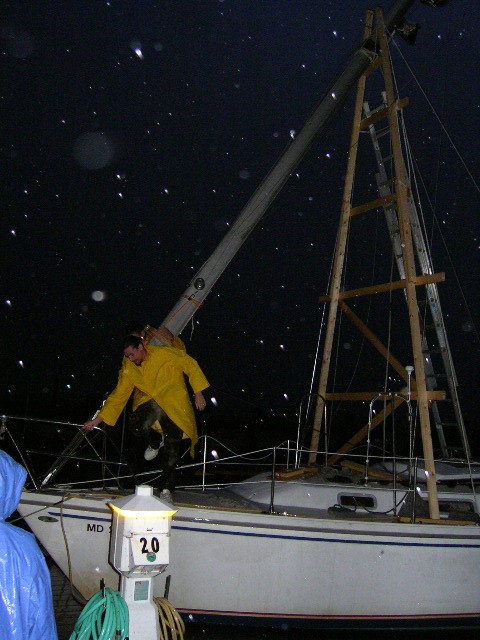
The operation seemed to be going smoothly at first. We got the mast horizontal 20’ in the air and started to lower it. That’s when things went awry. A small cable caught the top of the rig and the mast got stuck after we removed the first cross brace. This also caused the whole structure to start skewing. To make matters worse the wind picked up and the mast started rotating back and forth.
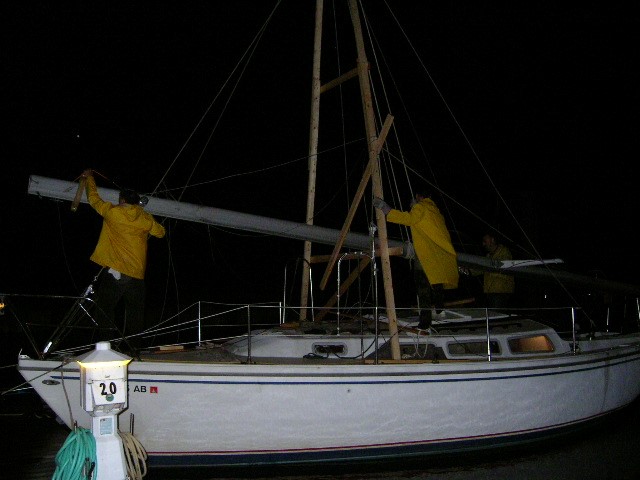
Somewhere during the commotion I saw my boats like pass before my eyes envisioning the mast coming crashing down onto the deck. Looking back, I’m sure there was really no way for this to happen but was still pretty scary. Finally, dad used the ladder as a long pole and pushed the stuck cable off the rig.
With that, we were able to lower the mast, although we did end up cutting the cable as it fell to the outside of the rig and continued to cause problems.
A few days later we moved the boat over to Perryville to have her hauled and transported to the house. This itself was not without issues. The tides ended up being all wrong and we got grounded twice and had to drag the boat though the mud to get it to the sling (you can see the mud on the keel).


After getting the boat to the house we set off on the task of building a shelter. We decide to build a temporary shed around her. We even employed the mast as a ridge board.

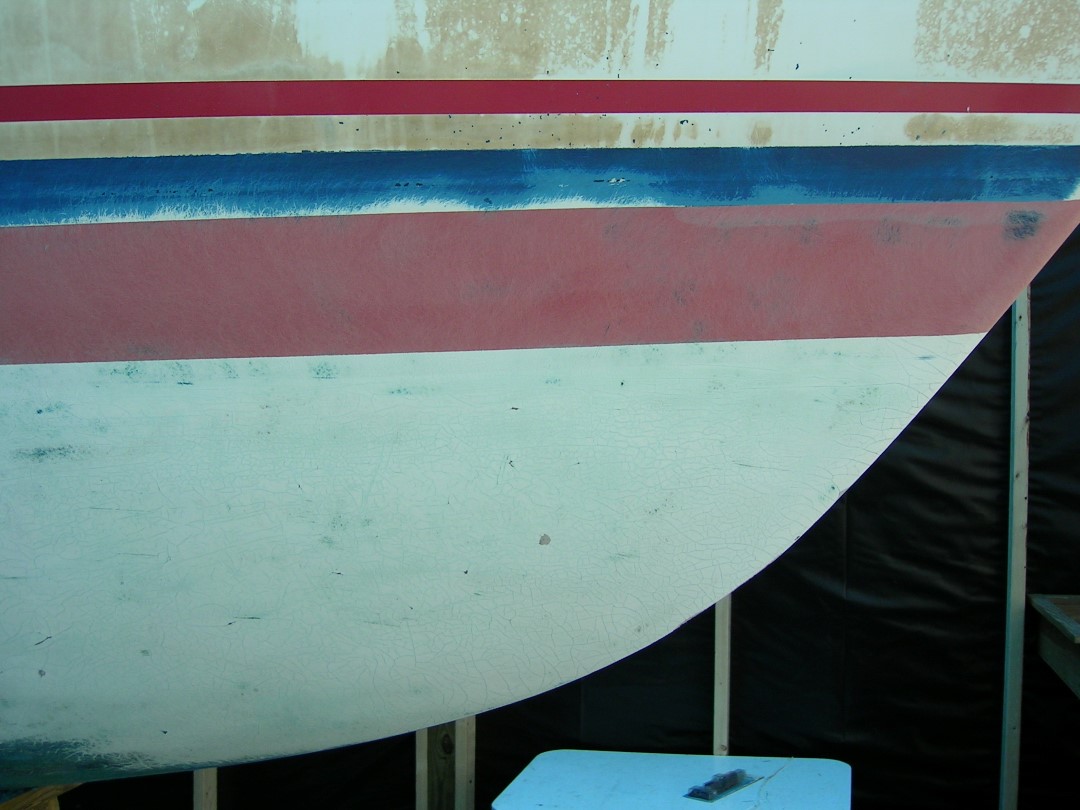
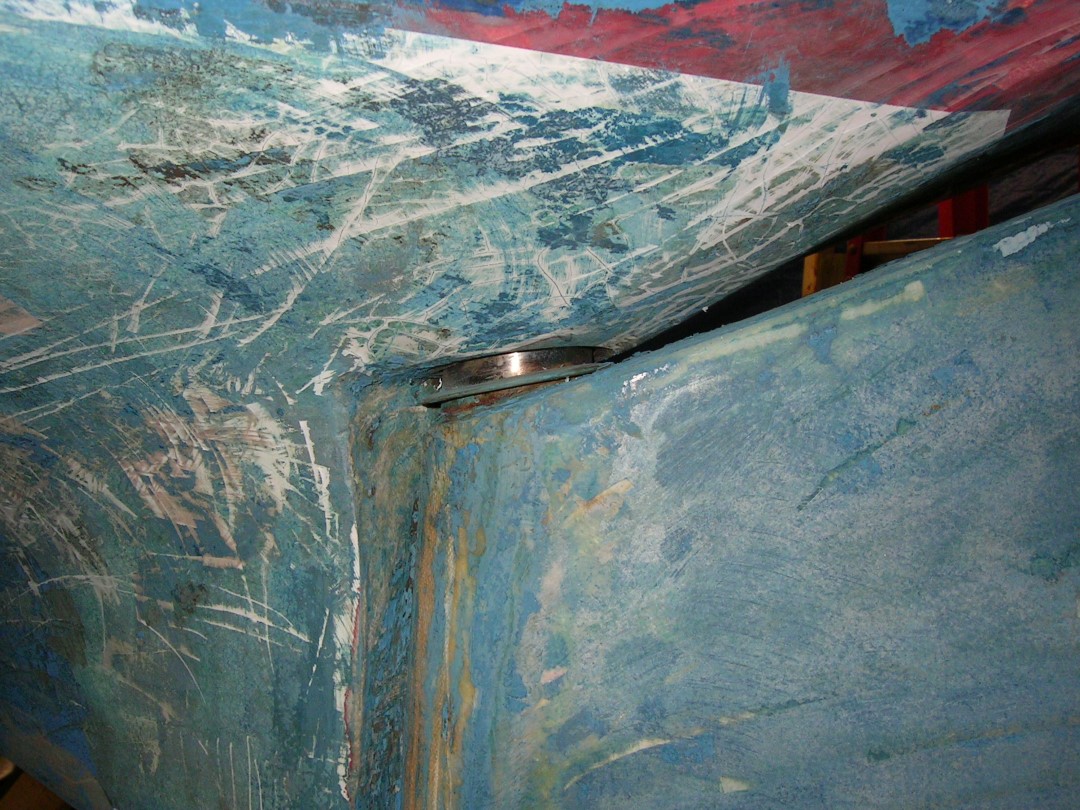
We had identified two problems with the hull when we purchased it:
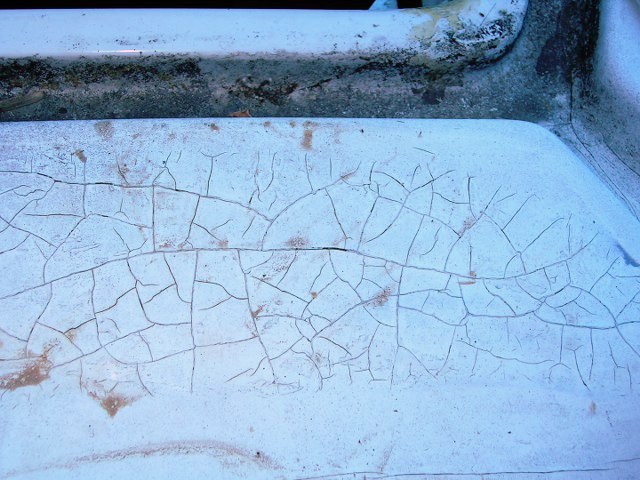
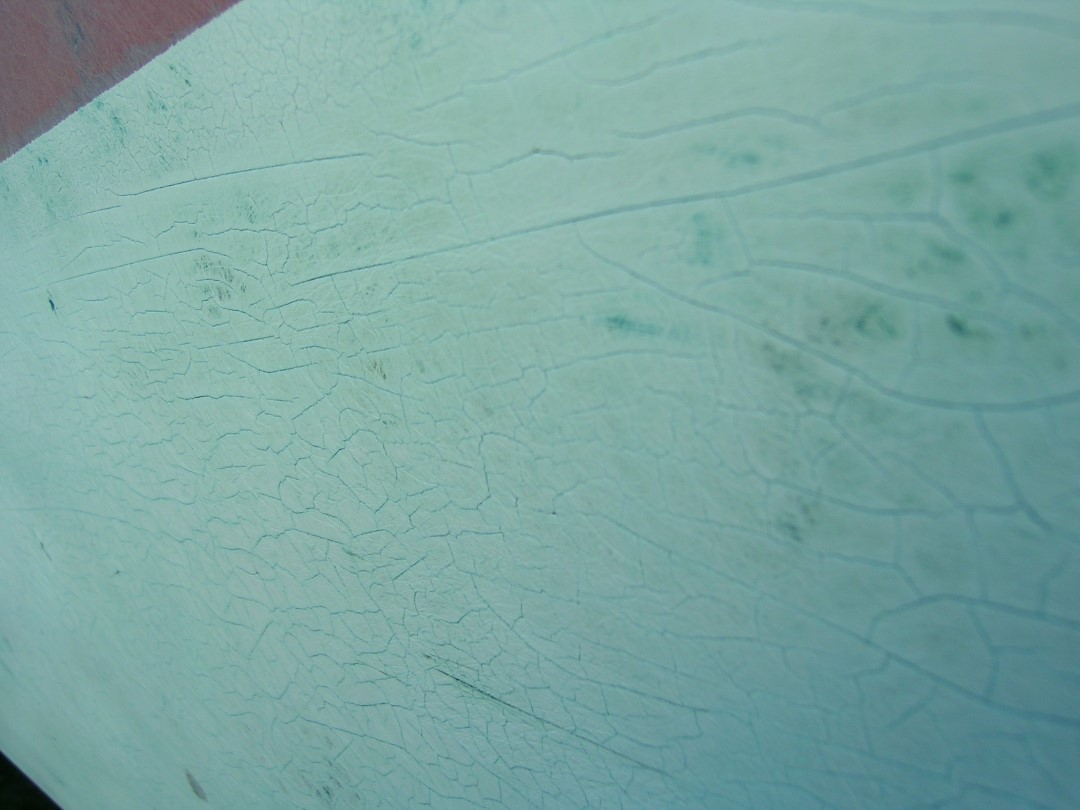
* Gelcoat Crazing - cracking of the gelcoat (alligatoring)
* The Catalina smile - cracking that appears at the joint of the hull and the keel
Neither of these were properly addressed for our first season. We simply patched up the crack with some fiberglass filler and slapped on some bottom paint - postponing the repairs till a later haul out.
Part of the reason for the Catalina smile is improper torque on the keel nuts and/or corroded nut/bolts. Our's was both. This repair is covered on another blog page.
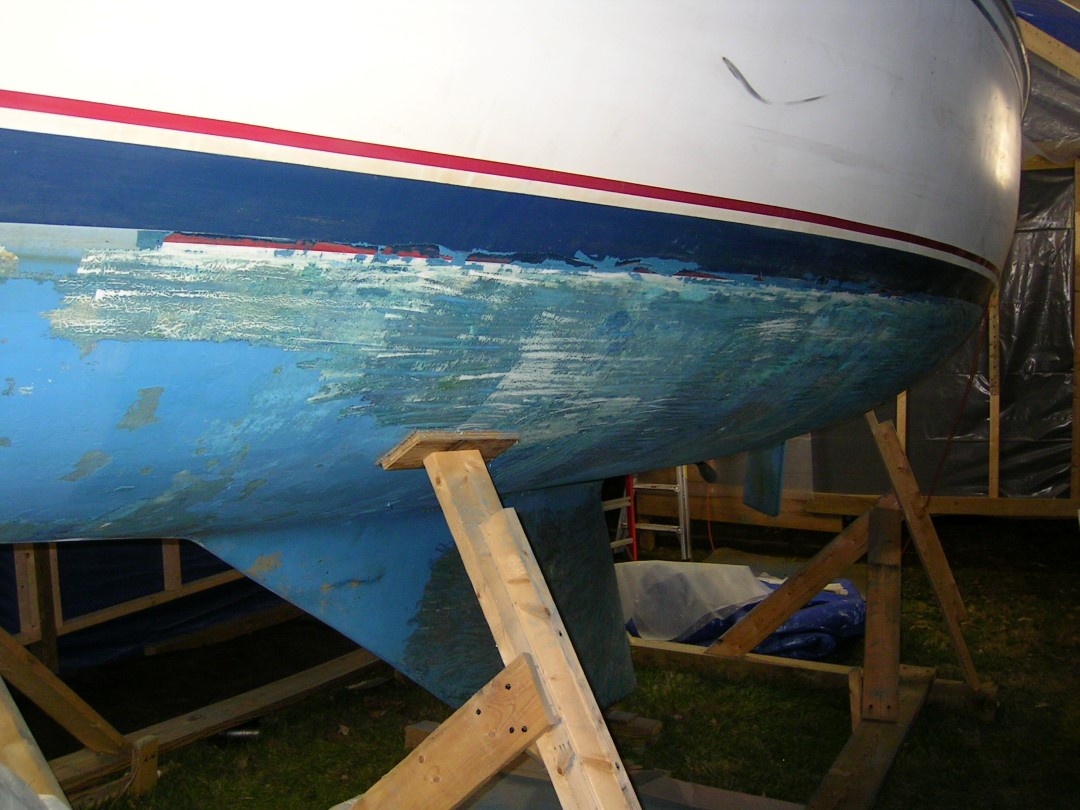
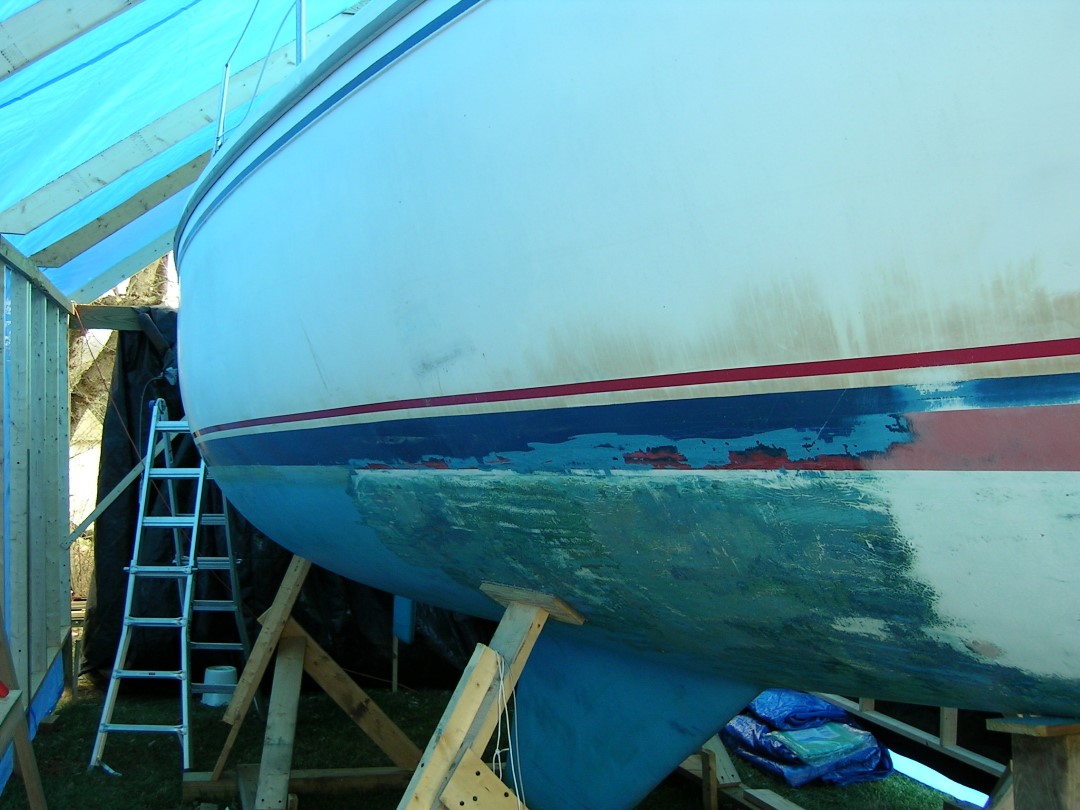
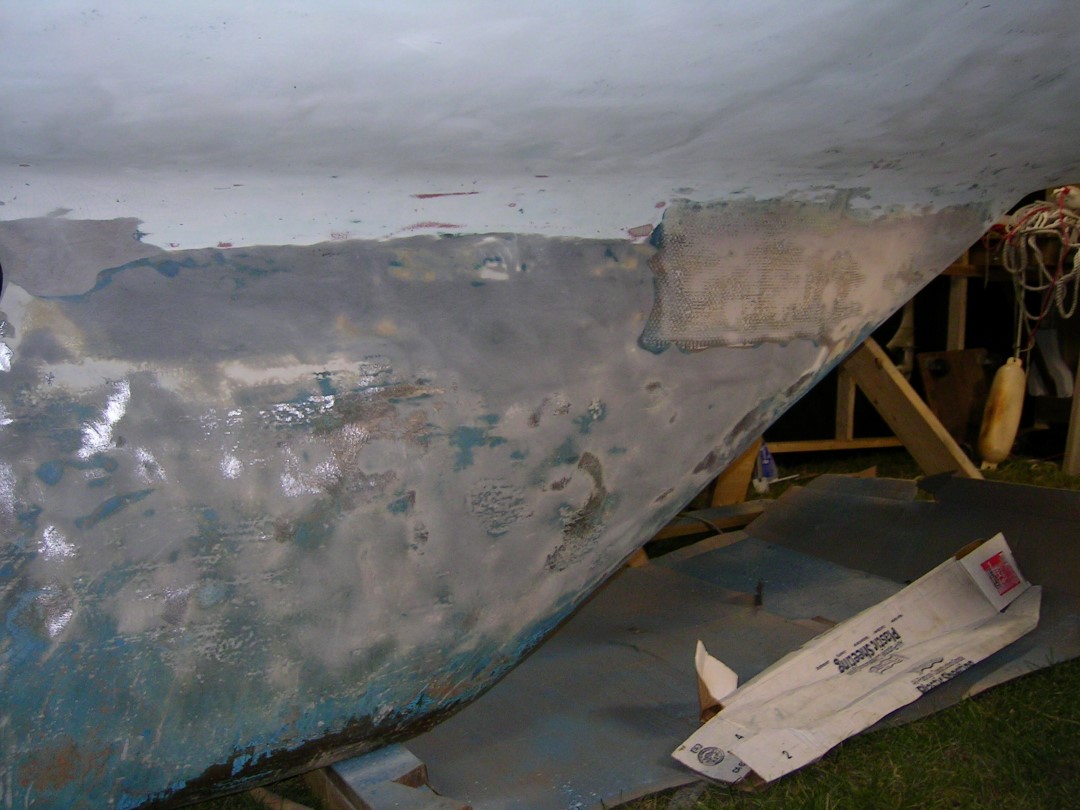
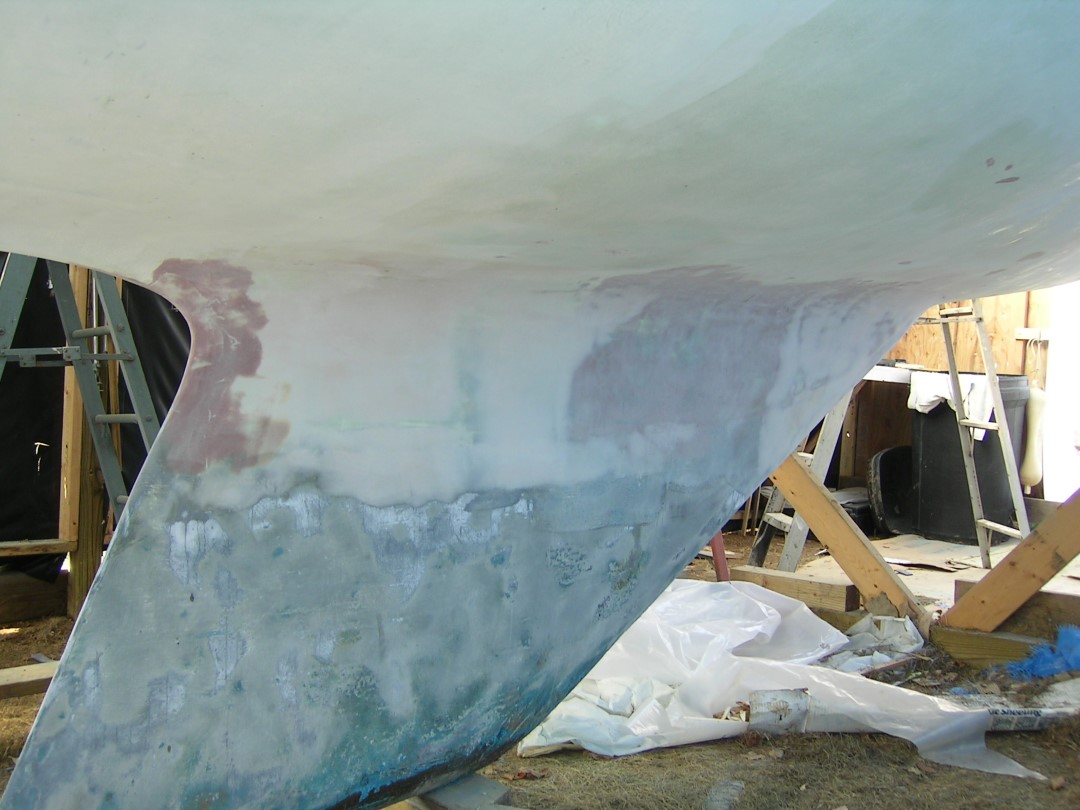
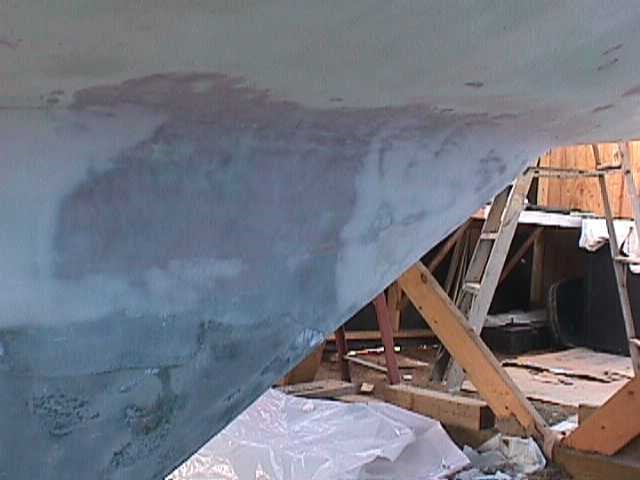
We started by stripping the years of old bottom paint off. This was done by scraping. Very tedious but saved the cost of chemical stripers. It also allowed the cleanup process to be done with a shop vac.
The crazing was extensive, covering pretty much the entire bottom below the waterline. The good news was that there were no osmotic blisters. After removing all the layers of bottom paint, the hull was sanded with 36 and 40 grit paper. All the old filler and fiberglass layering was ground out from around the keel to hull joint. After the repair of the floor and the keel nuts, it will be refilled.

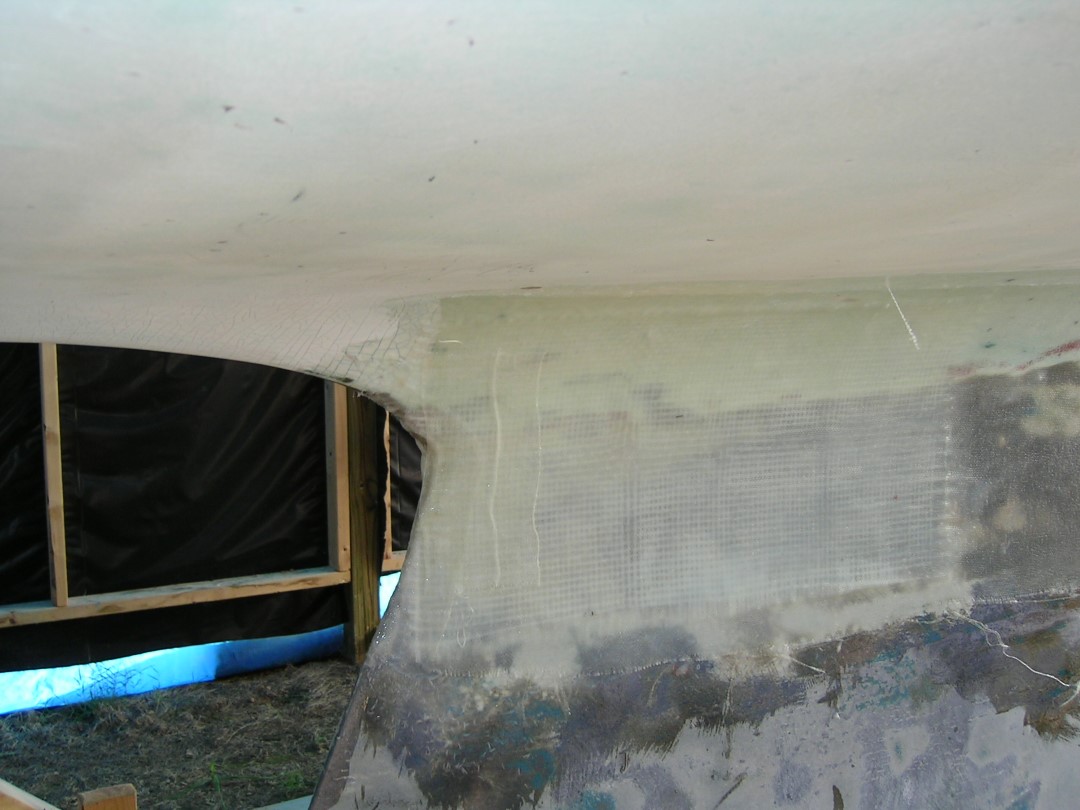
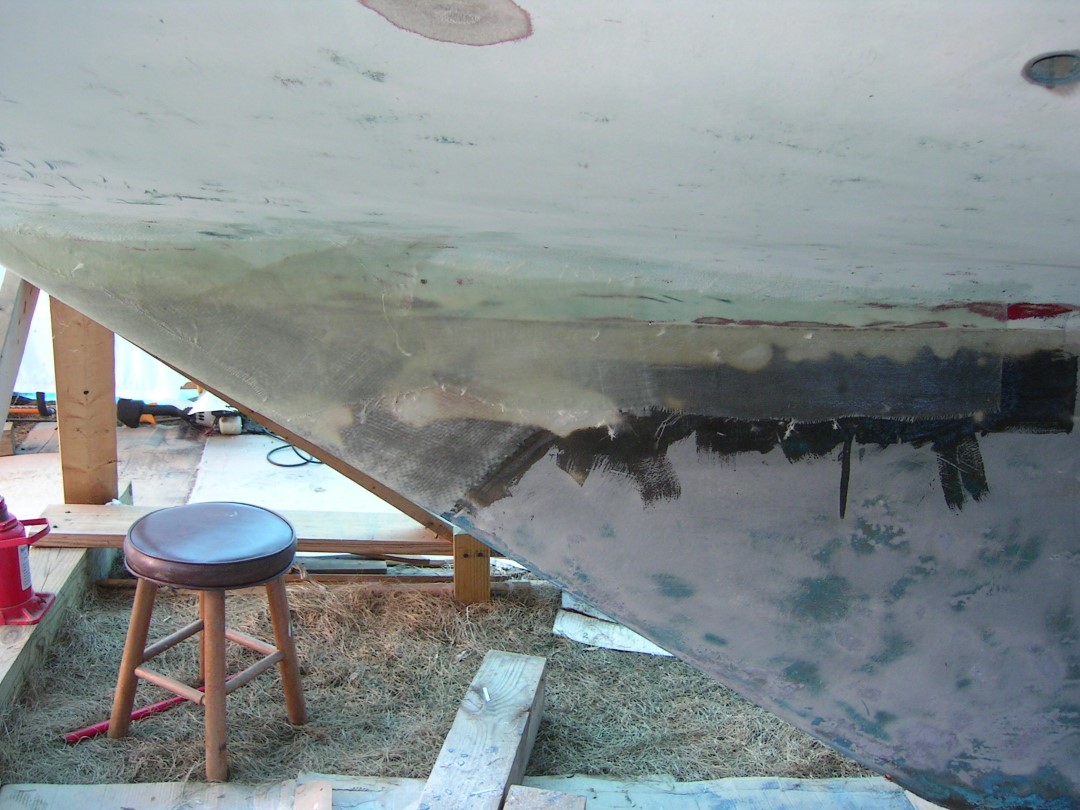
With the floor repaired, new nuts installed and torqued, the keel to hull joint can be filled. All the repairs below the waterline were done with epoxy. First the joint was smoothed with fairing compound (epoxy based). Next a layer of fiberglass heavy roving was applied. This was followed by several layers of fiberglass cloth.
Once all the roving and cloth was cured a layer epoxy thickened with colloidal slica and chopped strand was applied. This was followed with epoxy fairing compound until a smooth joint was achieved.


This article will cover the floor and keel boat repair of our Catalina 30
Just to be clear, we are using the term "floor" in its proper form, meaning the part of the hull that joins to the keel. The part of the cabin we walk on will be referred to as the sole.
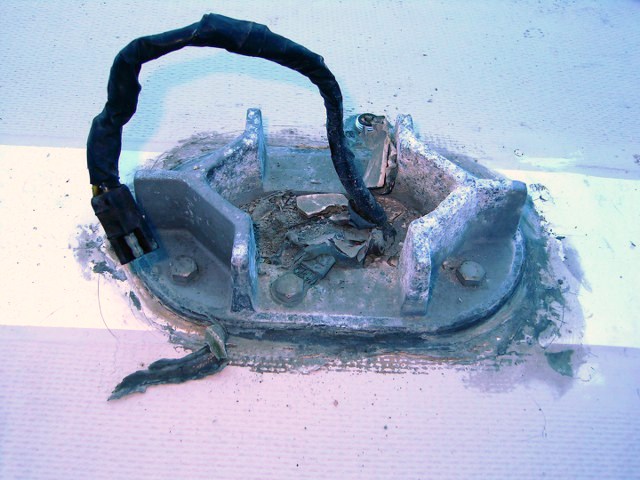
As we have stated, our boat was suffering from the common problem many Catalinas have - the "Catalina smile." Actually we have seen this problem on many makes and models that have the same type of keel configuration. This is cause mostly by the mechanics of the bolts and floor. Over time the bolts stretch and the floor weakens. This causes the torque on the nuts to become loose. Now the keel can begin to flex which causes the crack in the laminate of the join.
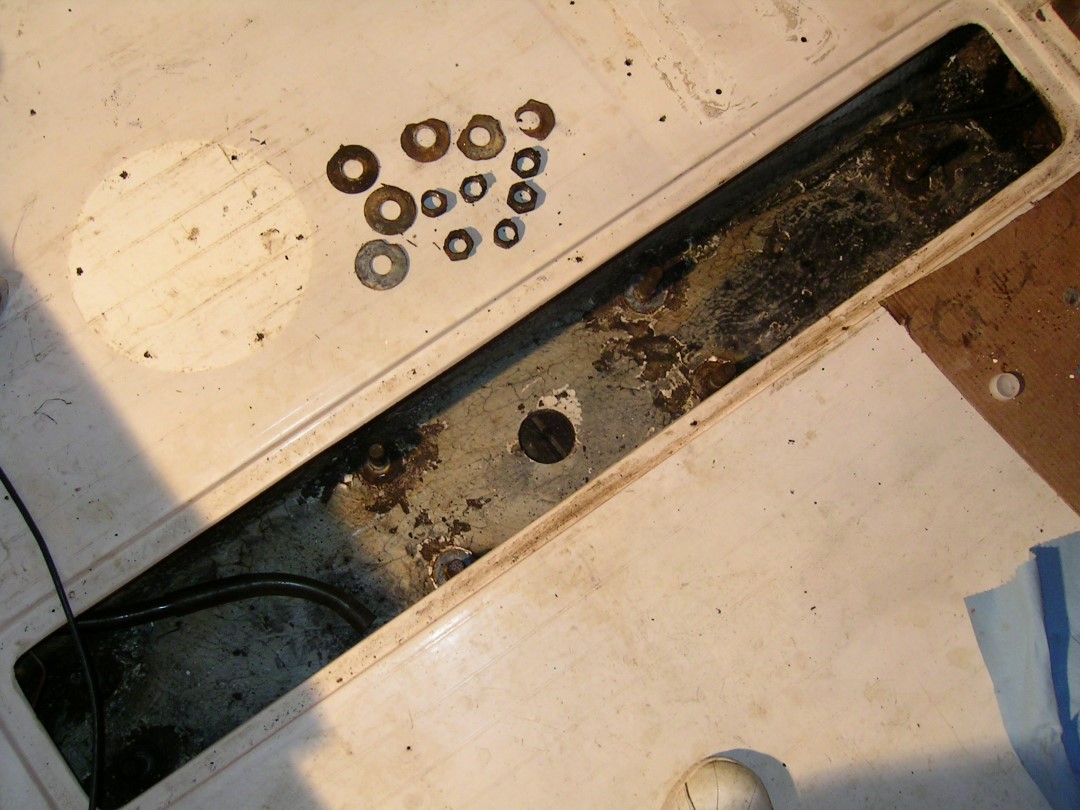
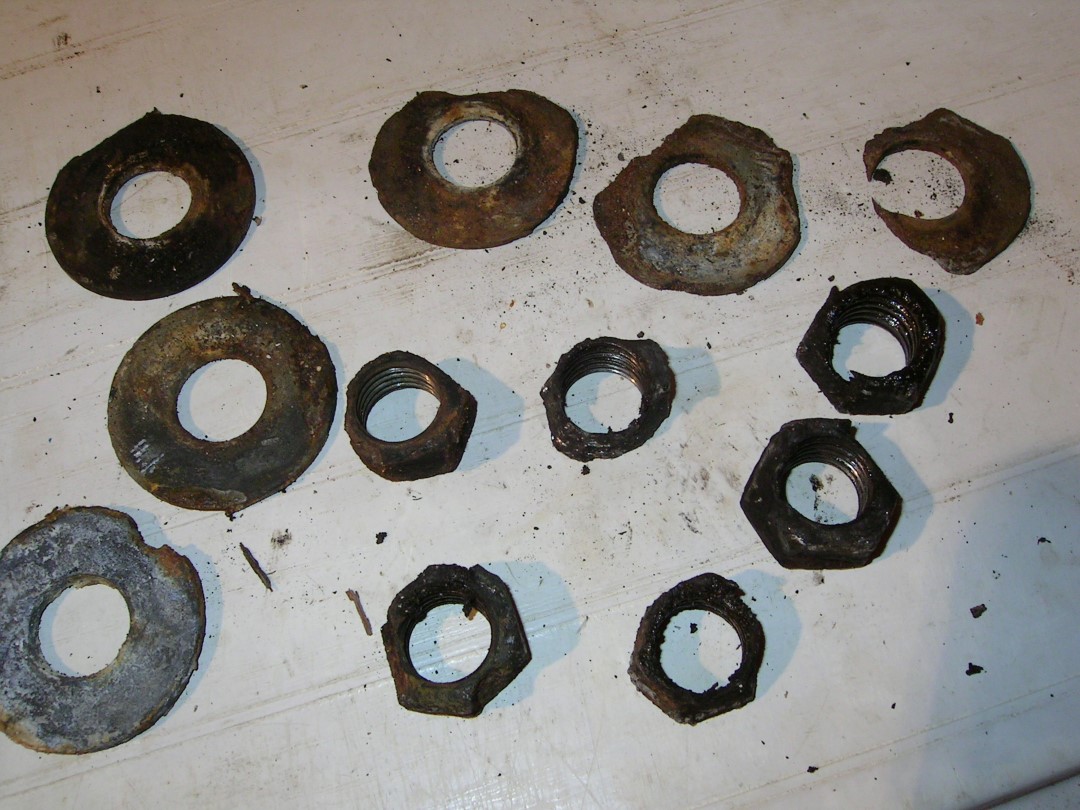
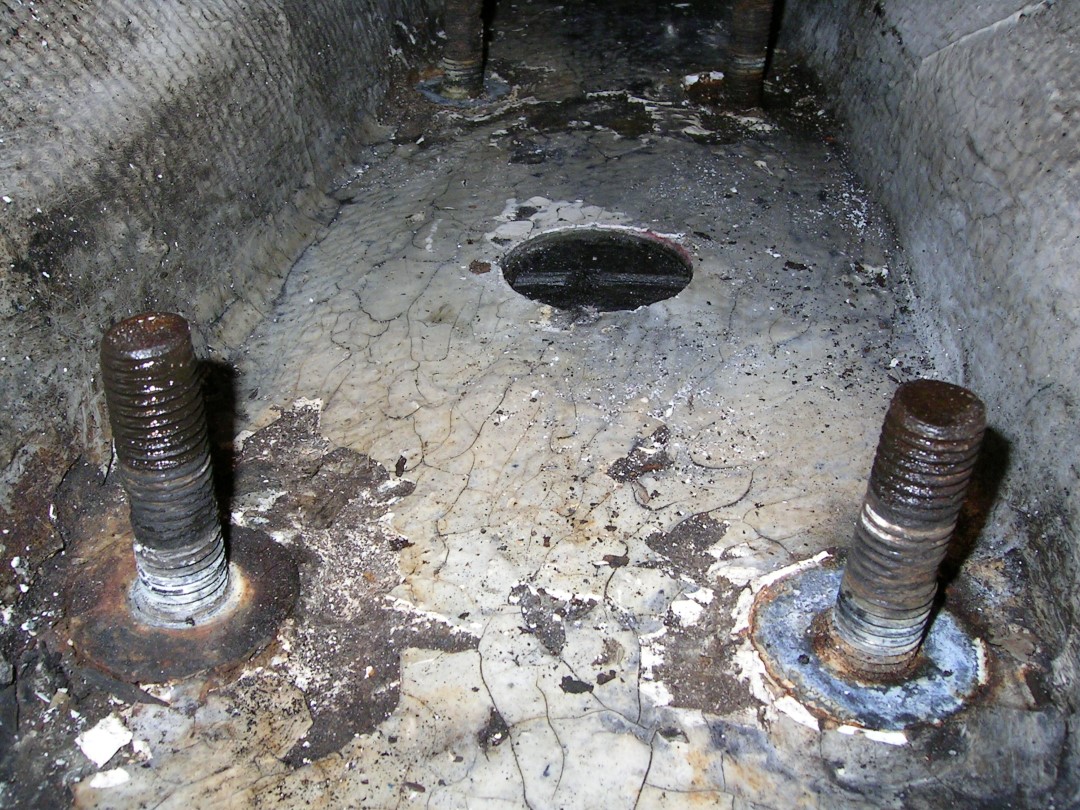
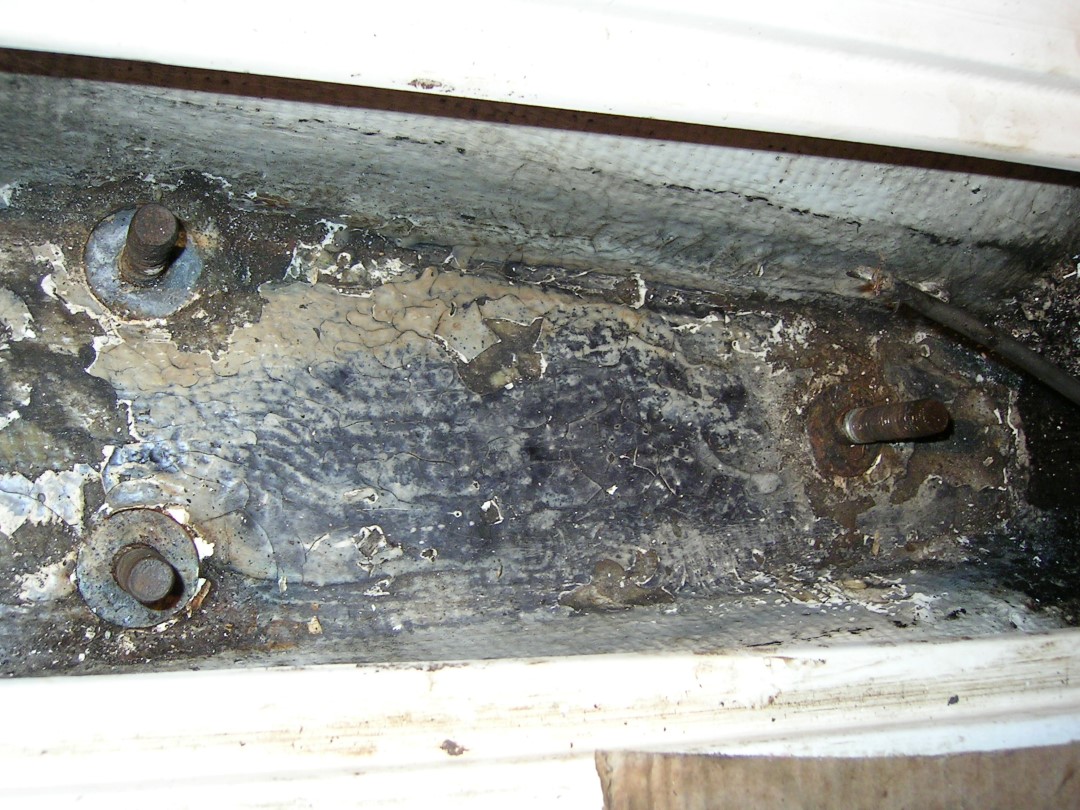
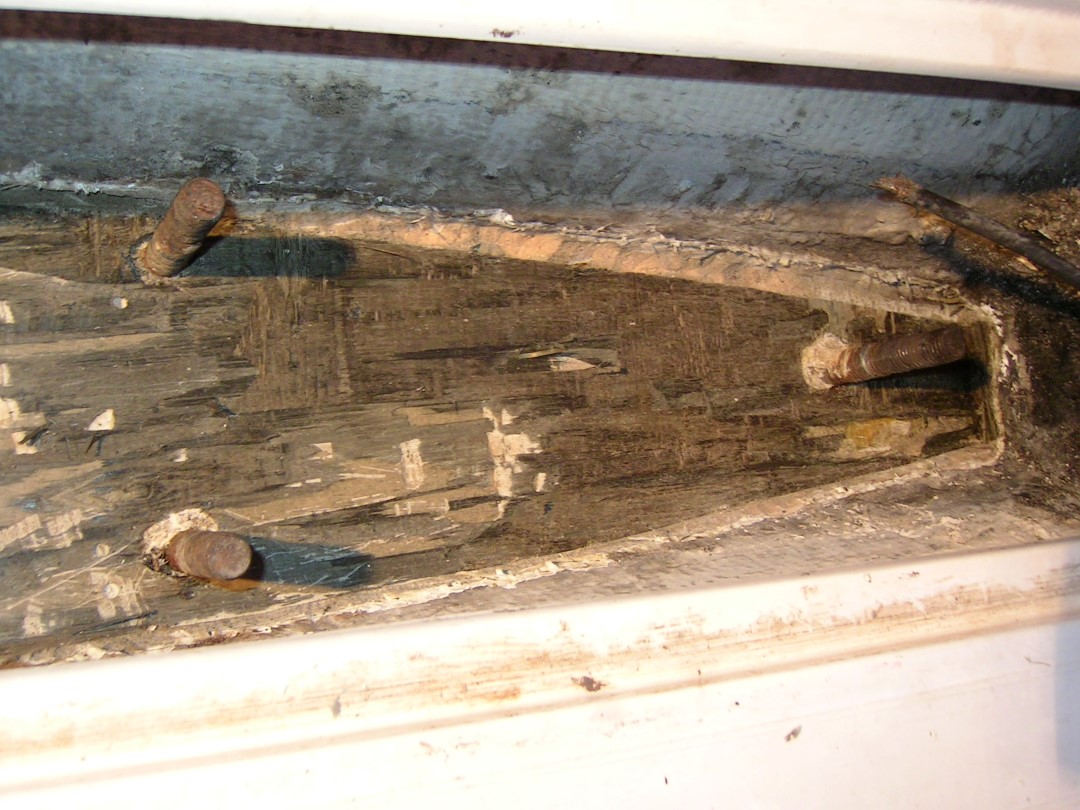
In our specific case, the nuts and studs were corroded as well - probably the reason proper torque was not maintained. Our floor was also suffering from some decay as well. The floor in our boat, which I believe to be typical, consisted of two layers of plywood with fiberglass laminated over them. So it was hull-plywood-glass-plywood-glass. To determine the condition, a large hole was drilled in the center of the floor. This showed the plywood was wet and the layers had delaminated.
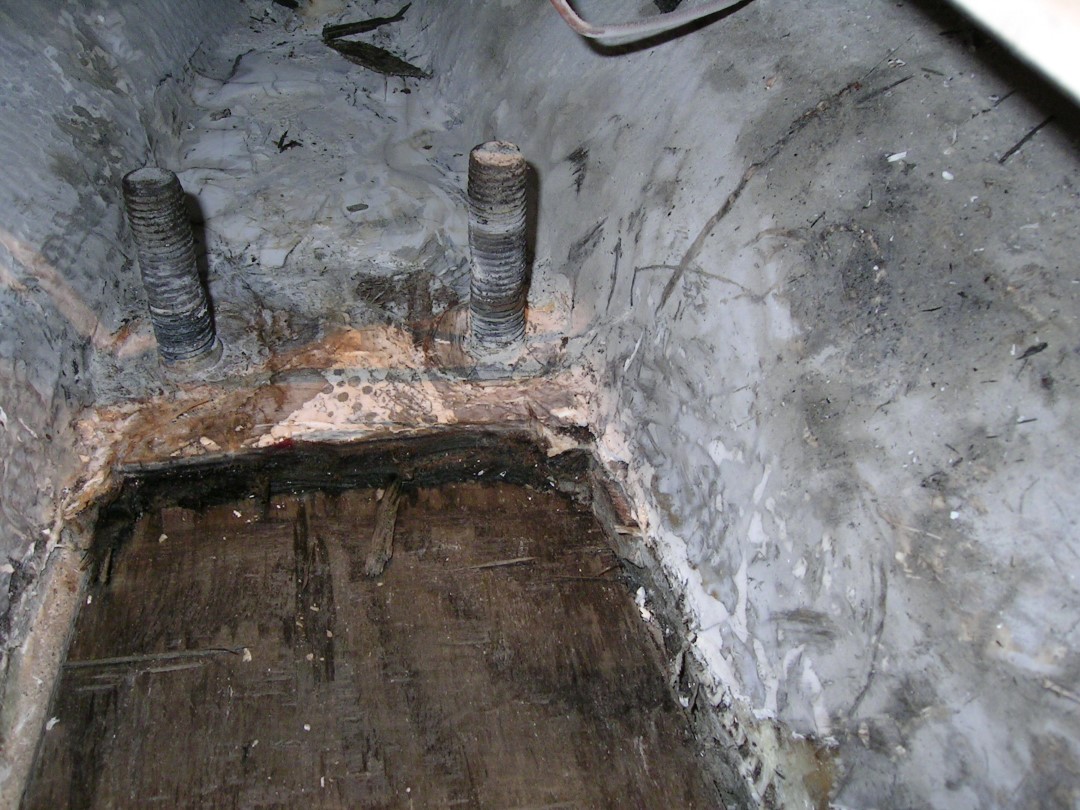
The layers of the floor were removed using an array of tools - chisels, grinders, drills, etc.
The floor was rebuilt using epoxy, fiberglass cloth and PVC board (instead of wood). I also had a steal plate fabricated that covered the entire floor, instead of using washers. This I hoped would increase the strength and help the bolts hold their torque. the PVC boards used were only 1/4 inch vs 3/8 or 1/2 plywood and I used less filler between the layers. This was to allow the floor height to be about 1/2 inch lower than original to allow for the steal plate and so that the nuts could be threaded past the corrosion on the studs.
The steal plate was painted and waxed - to help facilitate removal if ever needed. Just before final assembly, a thickened mixture of epoxy was poured into the bilge and the plate put in place. The idea of the epoxy was to fill in any imperfections or low spots under the plate and insure nice even loading. The nuts were put on and lightly tightened until epoxy oozed up around the edges of the plate. Once the epoxy started to cure, but before it was fully hard, the bolts were torqued to 50 ft. lbs. - about half the recommended 105 ft. lbs. Catalina recommended. After, a few days to allow the epoxy to fully cure, the bolts were fully torqued to the 105 ft. lbs.
Later after the boat is put in the water, and the keel is hanging, the bolts will be re-torqued.
The decision was made to remove all the floor down to the outer hull and rebuild the whole structure. By doing this, I would also be able to move the nuts down on the studs past the corrosion. The first step was to remove the badly corroded nuts. To my surprise, I was able to thread them off after chasing the tops of the studs with a die, using plenty of penetrating oil, and driving a smaller sized socket onto the corroded nut.


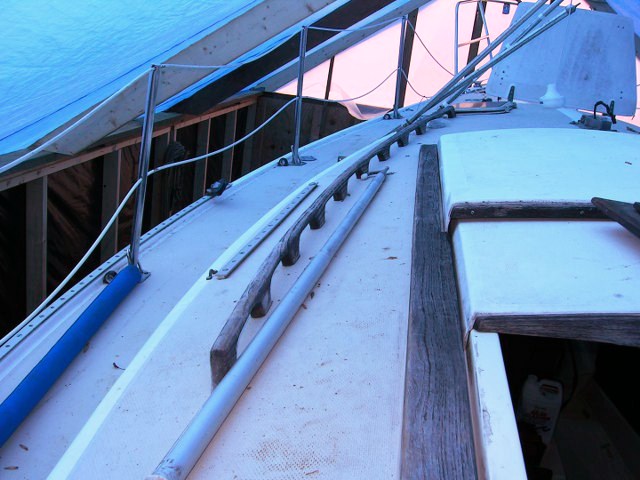
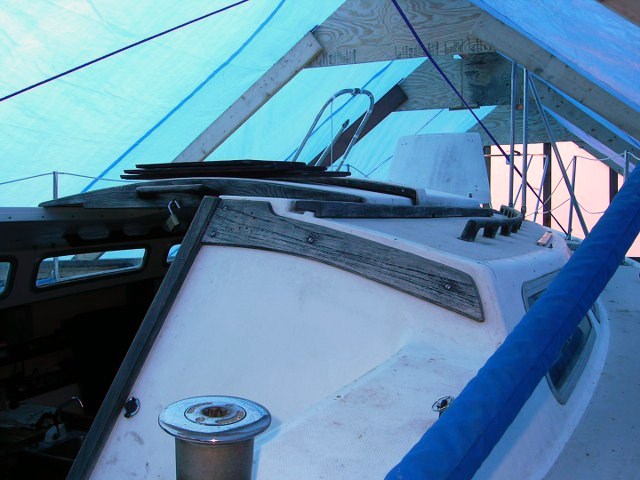
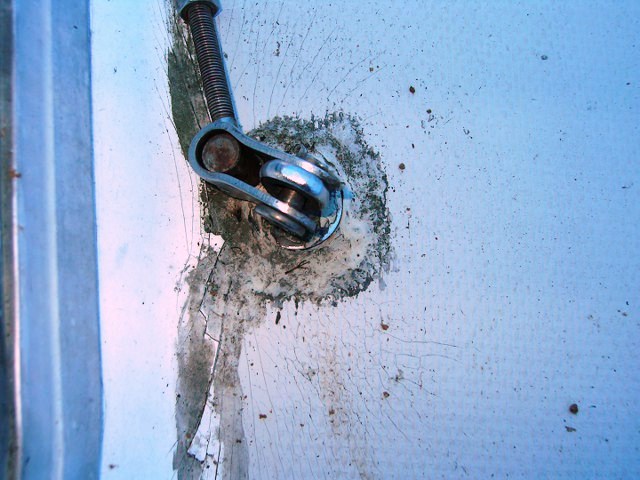
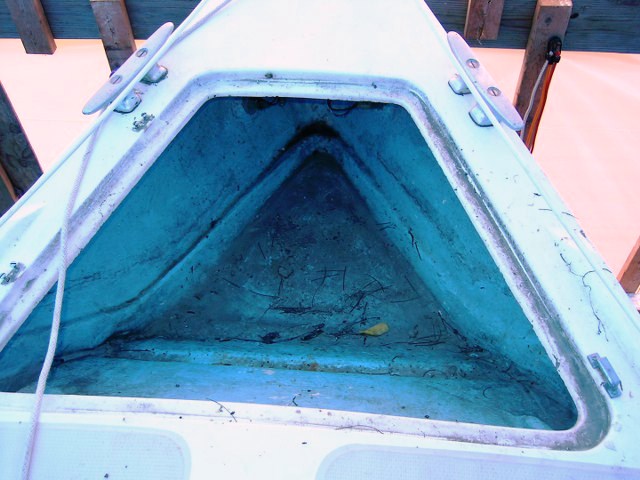
The deck was a major project. There were stress cracks, bad repairs, and an old paint job. The boat leaked everywhere, through the chain plates, stanchions, windows and just about any other hole. This also make the plywood core wet. So one of the first things I did was to remove all the deck hardware and windows, even though the deck repair was to be one of the last things I did. My thinking was that the core would dry over the months to come, especially any warm days that turned the shed into a hot house. And after more than a year out of the elements the core seemed to have dried out.
I started the deck repair by over drilling all the holes through the top and core but not the underside. For the chain plate holes I drilled those out with a hole saw to remove the stress cracks surrounding them. After taping the smaller underside hole I refilled every hole with thickened epoxy. For the larger holes I also added cloth and strand. Now when it came time to re-drill the holes I would hopefully not be exposing core so that even if they did start leaking again the core would remain dry. For most of the smaller holes I used a half inch bit to enlarge the holes, in hind sight, I think I should have gone larger to give myself more epoxy between the hole and core. I also filed and finished the edges of the port light cut outs to prevent moisture entering the core if the new windows leaked (good thing because some did initially)